Displaying a Widget in a Mobile App
You are reading the Classic Widget Documentation
Classic widgets are a previous widget version for onsite widgets created before September 23rd.
From September 23rd 2025, all new widgets created will be NextGen.
Please check your widget version on the Widget List page to see if it is Classic or NextGen widget.
You can read the Nextgen widget documentation here.
Note: This feature is unique to Classic widgets
Overview
In this guide we explore the general concept of displaying a Nosto's UGC Widget into within an Android and iOS Mobile Application. This will enable you to render social media content inside of your app without a lot of hassle.
This guide focuses on the simplest and effective way of displaying the Widget through the use of WebViews.
Key Concepts
Parent Page
The page which will host the embedded UGC Widget and will be referenced by the relevant mobile app web view.
Android Studio
Android Studio is an integrated development environment (IDE) for developing on the Android platform.
XCode
XCode is an integrated development environment (IDE) for developing on the iOS platform.
Requirements
To ensure our widgets function correctly, they must have access to the DOM. You can enable DOM Storage in your web view by following the instructions at this link
The Fun Part
In this guide we will do the following:
Configure your Widget Parent Page
Configure WebView on an iOS Mobile App via XCode
Configure WebView on an Android Mobile App via Android Studio
Configure your Widget Parent Page
Your Parent Page will be the hosted page that will contain your Embedded UGC Widget.
For the purposes of this guide, it is assumed that either a Fluid Horizontal or Fluid Vertical Widget will be used.
In order to ensure your Widget renders correctly when referenced from your Mobile Application it is important that you include the following META information in your page header.
This information will tell the WebView the scale of the page, that it has been optimised for handheld devices and in the case of iOS that it is Apple Mobile App Capable.
The second step is ensure that there is no unnecessary padding or white space around your Widget. To remove this, please include the following CSS on your parent page:
This CSS will remove the default padding that exists on all HTML pages, as well renders the UGC Widget at 100% the page width.
Add WebView to your iOS Mobile App
For the purpose of this guide, we will create a brand new iOS Mobile Application on XCode.
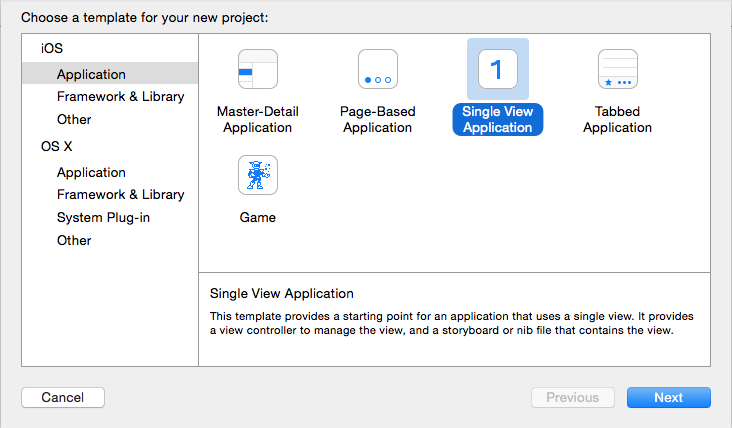
Create a New Application with the following attributes:
Template: Single View Application
Application Name: WebView
Language: Objective-C
Devices: Universal
Storyboards: True
And select where you would like to save the application files on your computer.
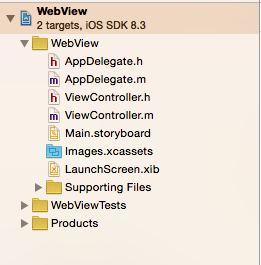
Once setup you will notice on there left there will be a series of pre-generated files. These files will be called AppDelegate, ViewController and Main.Storyboard.
Both AppDelegate and ViewController will have a .h and .m version of the file.
For the purpose of app building, .h is the header file (the file that tells the app what to do), and .m is the implementation file (the file that does what the header told it to do).
Add the WebView to the Storyboard
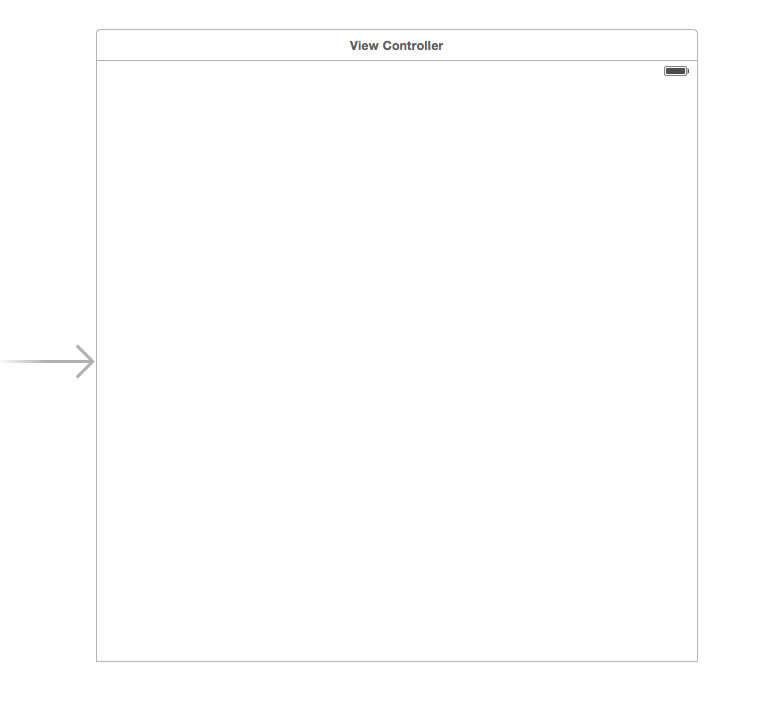
The first step is adding the WebView to the Main.storyboard file. Upon selecting the file, you will be presented with a screen similar to below:
You will also be presented with an updated object list (located on the right hand side).
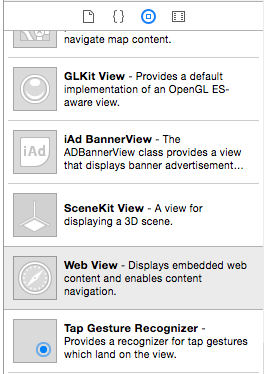
From this list find WebView and drag onto your Controller Canvas.
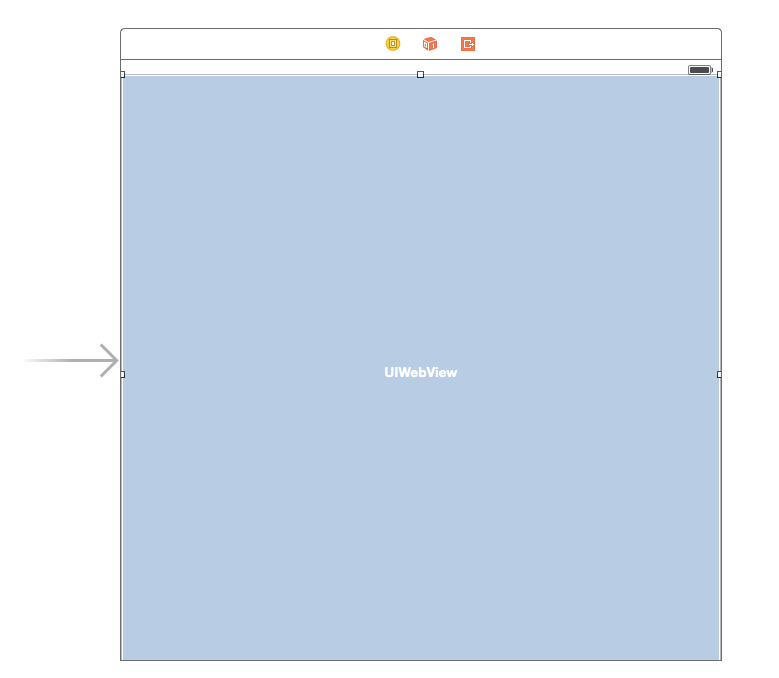
This will open up the View Controller Scene within XCode. From here, make sure View > Web View is selected.
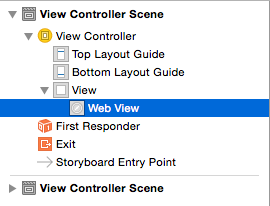
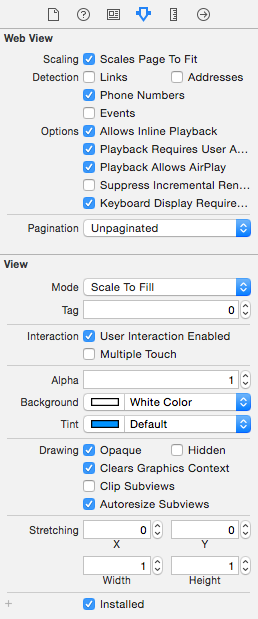
This will allow you to tweak the settings for the WebView within your Mobile Application.
Make sure within your settings you have ‘Scale Page to Fit’ selected.
Update ViewController.m
Next step is updating ViewController.m. Select the file from the left hand side. From the code that loads up, paste the following under the value #import "ViewController.h".
The section highlighted in yellow is where you will need to specify the URL to the page hosting your Widget.
Once done, save and build your Mobile Application.
Add WebView to your Android Mobile App
For the purpose of this guide, we will create a brand new Android Mobile Application on Android Tools.
From Android Tools, select New Project and fill out the following attributes:
Application Name: WebView Application
Target Android Devices: Phone & Tablet
Minimum SDK: API 15: Android 4.0.3 (IceCreamSandwich)
Mobile Activity: Blank Activity
Company Domain: Stackla
And select where you would like the application saved on your Computer.
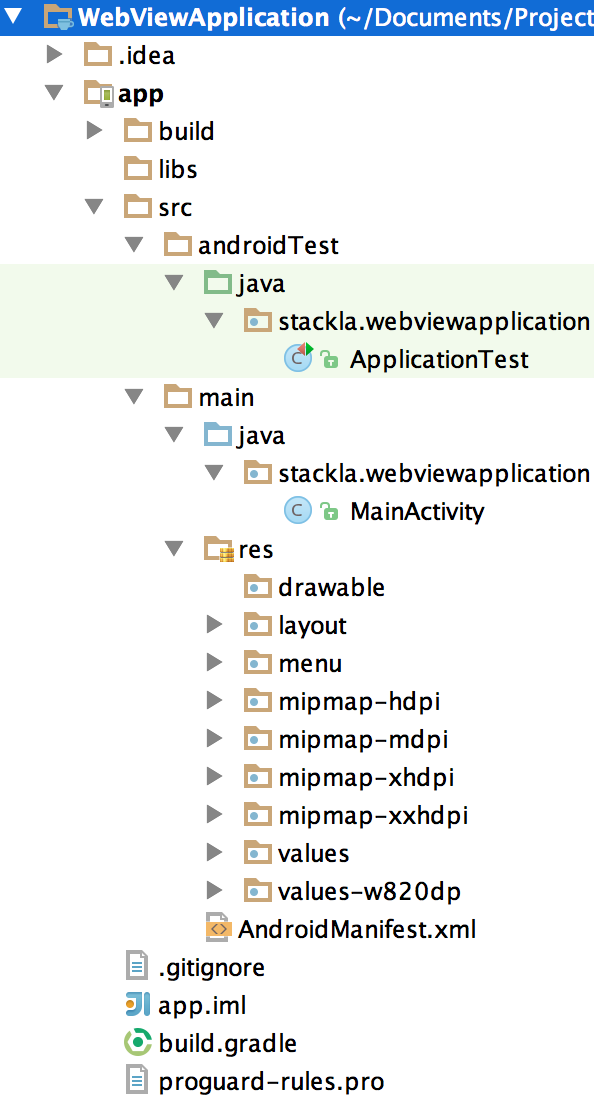
Once setup you will notice on there left there will be a series of pre-generated files. The more important files to any Android App are:
src/main/java. Android Java source code.
src/main/res. Resources used by the native application.
src/main/res/drawable-type. Image resources used by the native application.
src/main/res/layout. XML layout files that define the structure of UI components.
src/main/res/values. Dimensions, strings, and other values that you might not want to hard-code in your application.
src/main/AndroidManifest.xml. The manifest file defines what's included in the application: activities, permissions, themes, and so on.
Add the WebView to the Main Activity Layout
Open the file res/layout/activity_main.xml and add the following code to the base of the document.
Update Main Activity Java Source Code:
Open the file java/stackla/webviewapplication/MainActivity.java and add the following highlighted code to the document.
This code ensures that the standard Android WebSettings and WebView kit are imported.
import android.webkit.WebSettings;import android.webkit.WebView;
Whilst this code determines the rendering of the app within the Web View.
WebView mWebView = (WebView) findViewById(R.id.activity_main_webview);WebSettings webSettings = mWebView.getSettings();webSettings.setJavaScriptEnabled(true);mWebView.setInitialScale(1);mWebView.getSettings().setJavaScriptEnabled(true);mWebView.getSettings().setLoadWithOverviewMode(true);mWebView.getSettings().setUseWideViewPort(true);mWebView.setScrollBarStyle(WebView.SCROLLBARS_OUTSIDE_OVERLAY);mWebView.setScrollbarFadingEnabled(false);
This final line of code tells the Mobile Application what URL to load:
mWebView.loadUrl("URL to Widget Parent Page");
Update Android Manifest
Open the file /manifests/AndroidManifest.xml and add the following line of code right after the parameter <application>.
Update Build Tool Version
If you see error "Cannot resolve symbol R", you might need to downgrade the build tool version.
Please open the file build.gradle and change buildToolsVersion to "21.0.1"
Once done, save and build your Mobile Application.
Best Practices for Web Apps
It is important to have a valid DOCTYPE and viewport in the parent page to prevent unexpected behaviours from different browsers. The article below listed some web apps best practices. Please ensure the web app follows the best practices at all times.
Summary and Next Steps
This example can be further expanded with the following activities:
Customise Widget to suit the look and feel of your current app
Integrate the above to switch Filters or Widgets within the Web Views
Last updated