Creating Your Widget by Using the Blank Canvas
You are reading the Classic Widget Documentation
Classic widgets are a previous widget version for onsite widgets created before September 23rd.
From September 23rd 2025, all new widgets created will be NextGen.
Please check your widget version on the Widget List page to see if it is Classic or NextGen widget.
You can read the Nextgen widget documentation here.
Overview
Though Nosto's UGC provides several different types of widgets and has the great ability of customization, we still can't satisfy some of our customers' unique needs. For example, some customers want to use the Horizontal Masonry, which Nosto's UGC doesn't have. This then leads to our customer to using hack solutions or forces them to build from scratch which can take a lot of effort. That's not okay for both Nosto's UGC and our clients.
To resolve this, we have provided a new widget type. Blank Canvas allows you to create your widget from scratch whilst providing developers with some great utility functions and tools to achieve their solution efficiently.
In this tutorial, we will show you how to create a Blank Canvas widget step by step.
Step 1 - Getting a Canvas with Single Click!
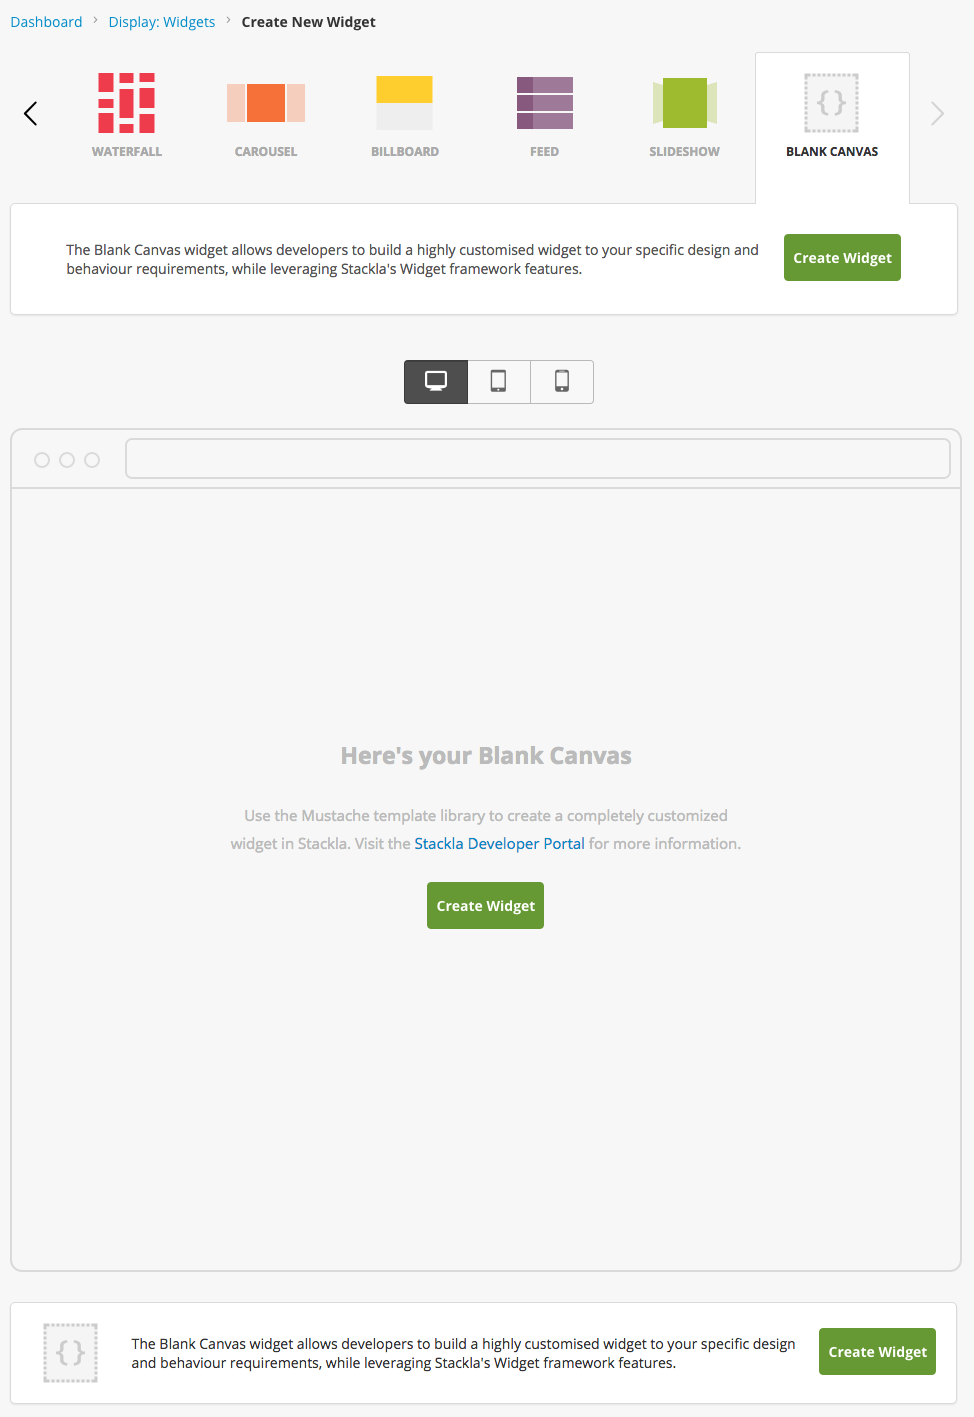
Once the widget is available to you, you will see an extra widget type, Blank Canvas, in your widget creation page.
It doesn't have any JavaScript, CSS, or HTML by default. That's the reason why you can only see the prompt text in the preview widget area.
Just click the Create Widget button to start! It's easy!!
Step 2 - Super Simple Settings!
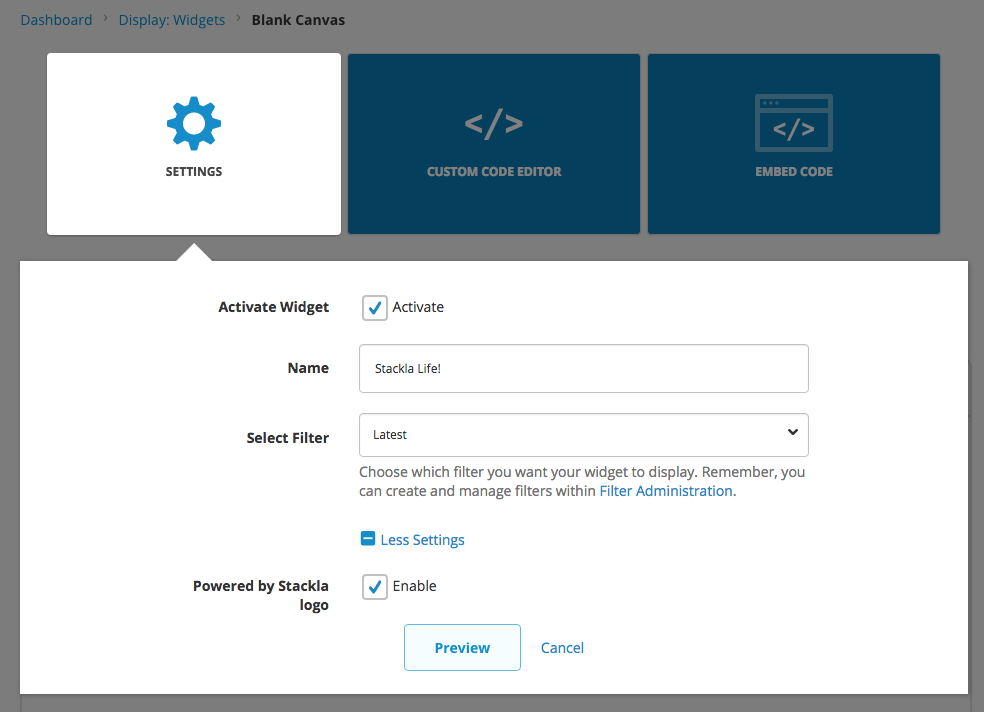
Before you start to put your imagination and innovative ideas onto the canvas, it's suggested to set up it correctly.
In Blank Canvas, we only provide very basic setting options. That is the Activate Widget, Name, Select Filter, and the Powered by Nosto's UGC Logo fields.
The Selected Filter is the most important setting among them. It involves with the data you can fetch from Nosto's UGC.
Step 3 - Custom Code Editors
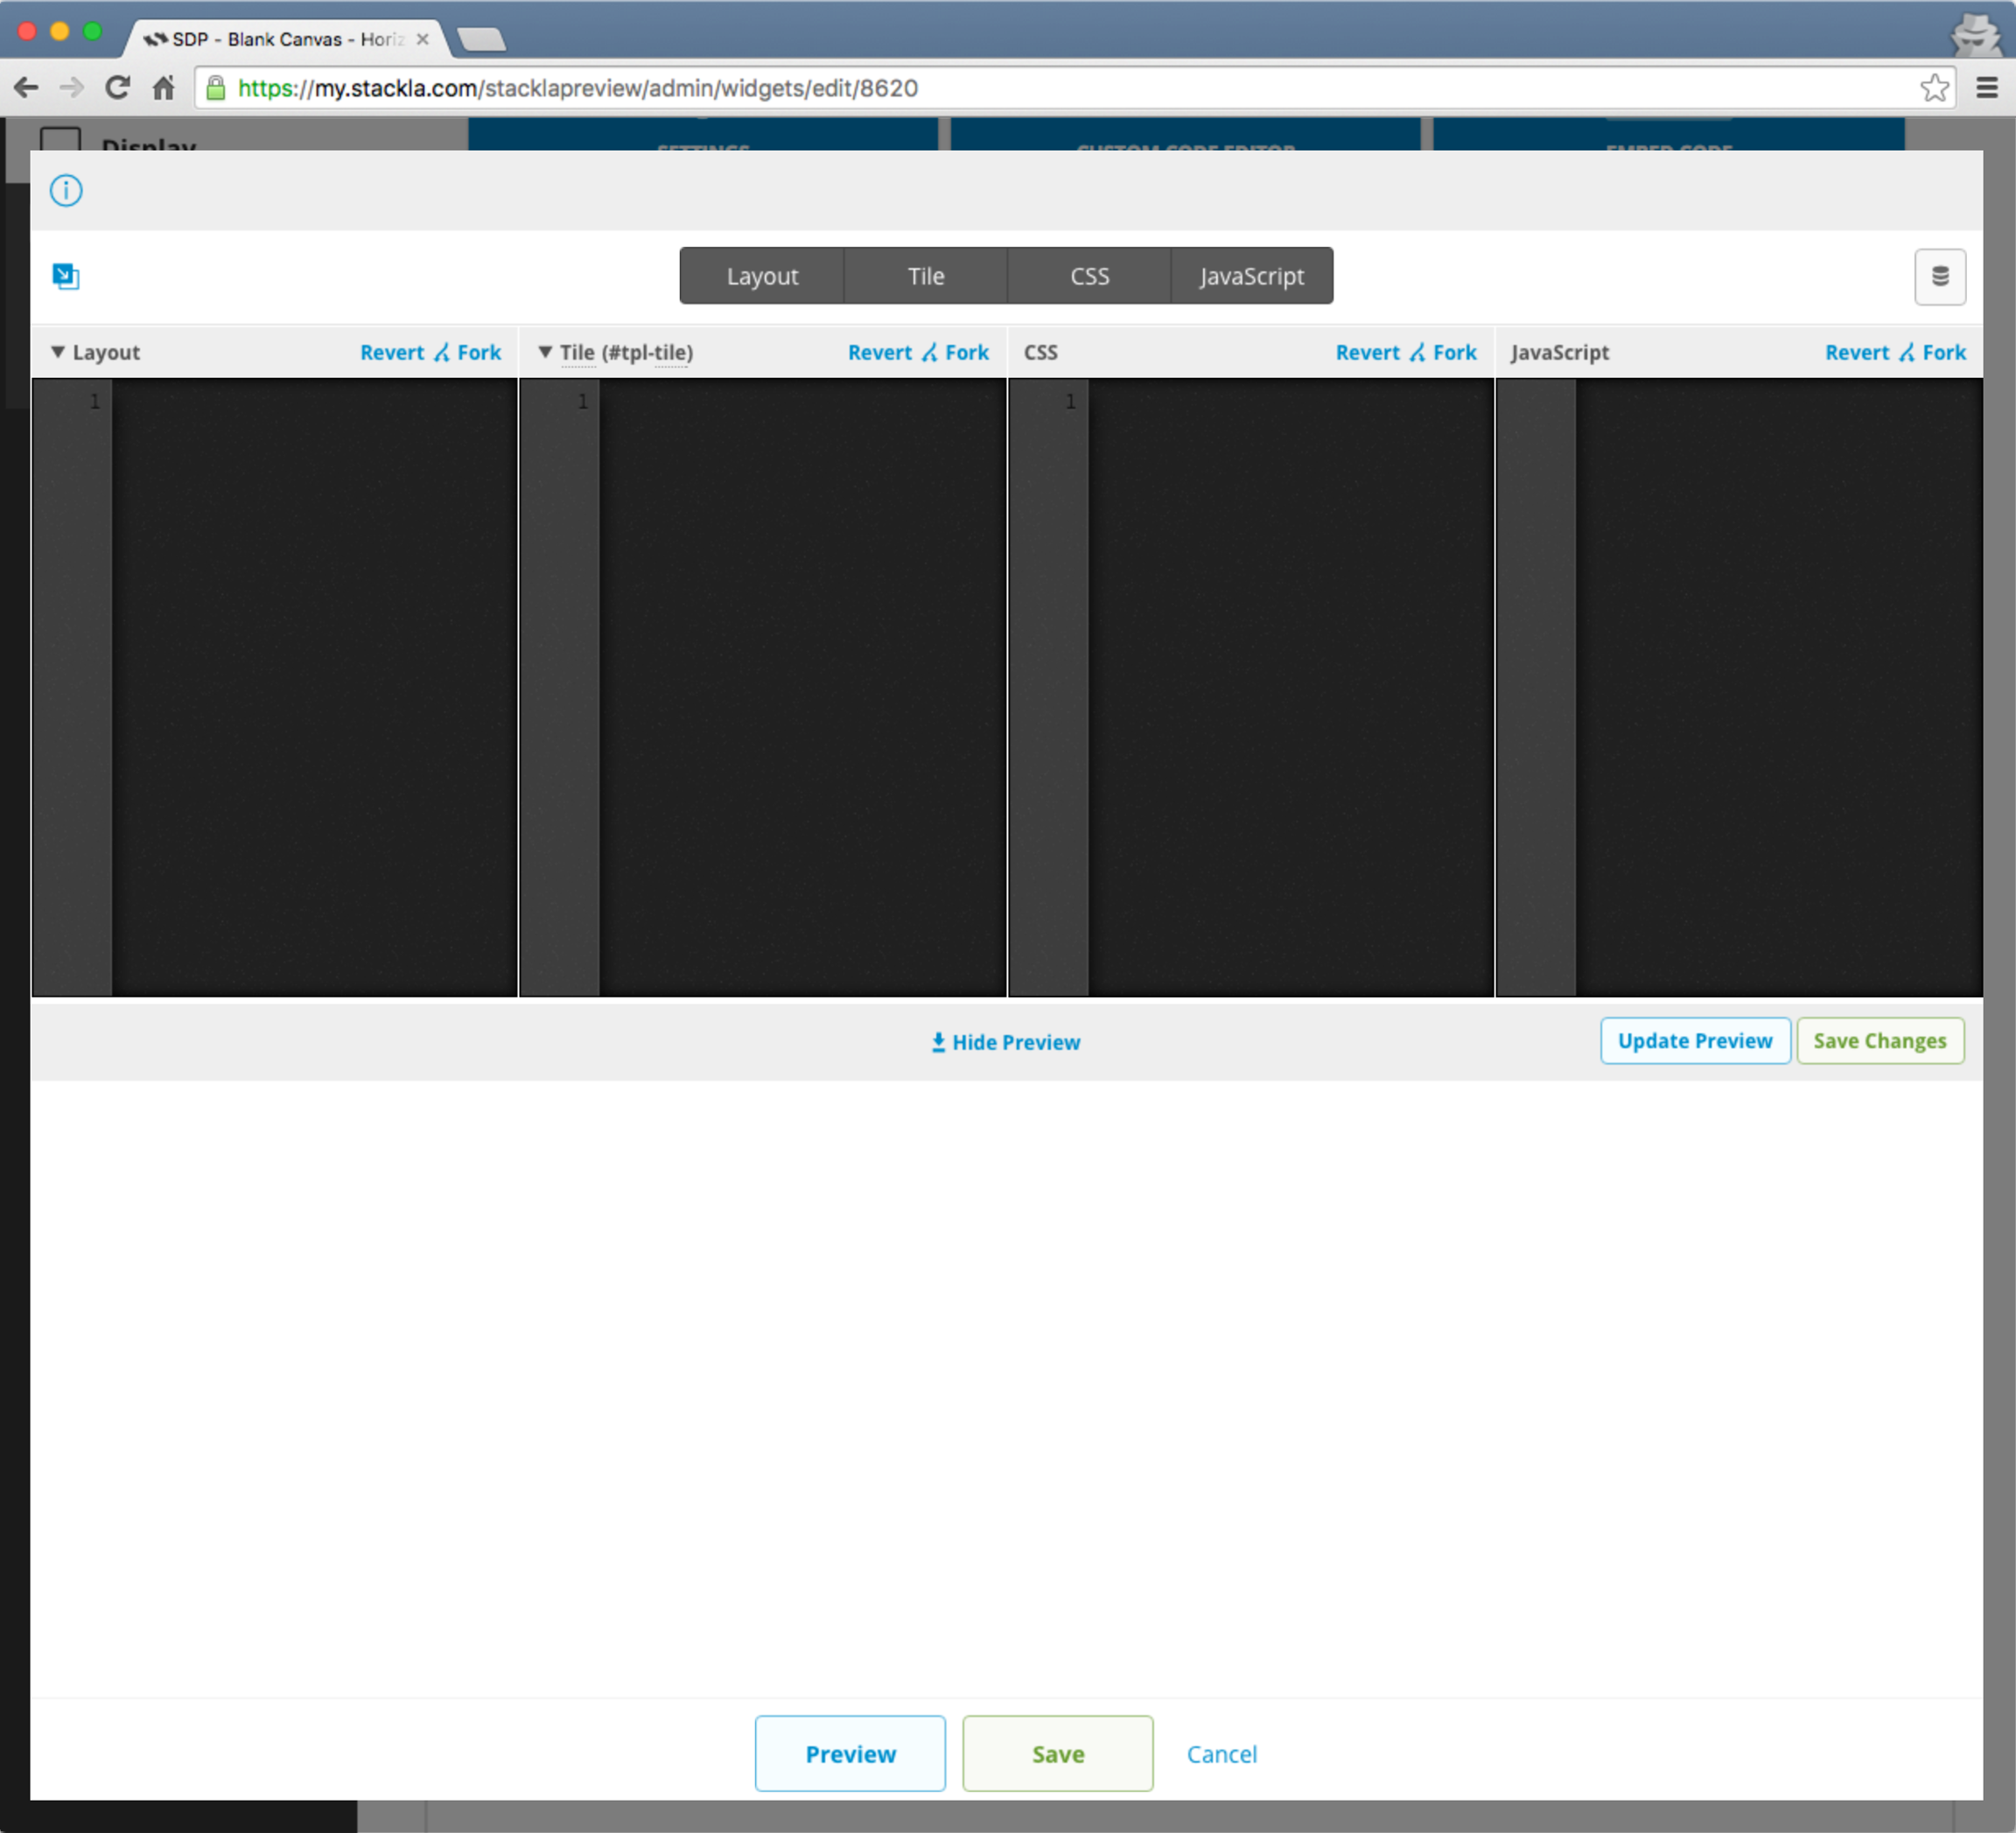
Unlike other widgets which have the CSS and JavaScript editors, the Blank Canvas widget provides the other Layout and Tile editors so that you can write code in Mustache.
Step 4 - Coding for Layout and Tile Templates
Understanding the Mustache Partials
If you are familiar with the Mustache template engine, you probably know the Partials. The Partials feature just makes it easier to modulize your templates.
Nosto's UGC introduces the Mustache Partials feature. You can add, remove, or rename any templates. The only necessary one is the Layout. You can remove the Tile template if you think you can finish everything in one template.
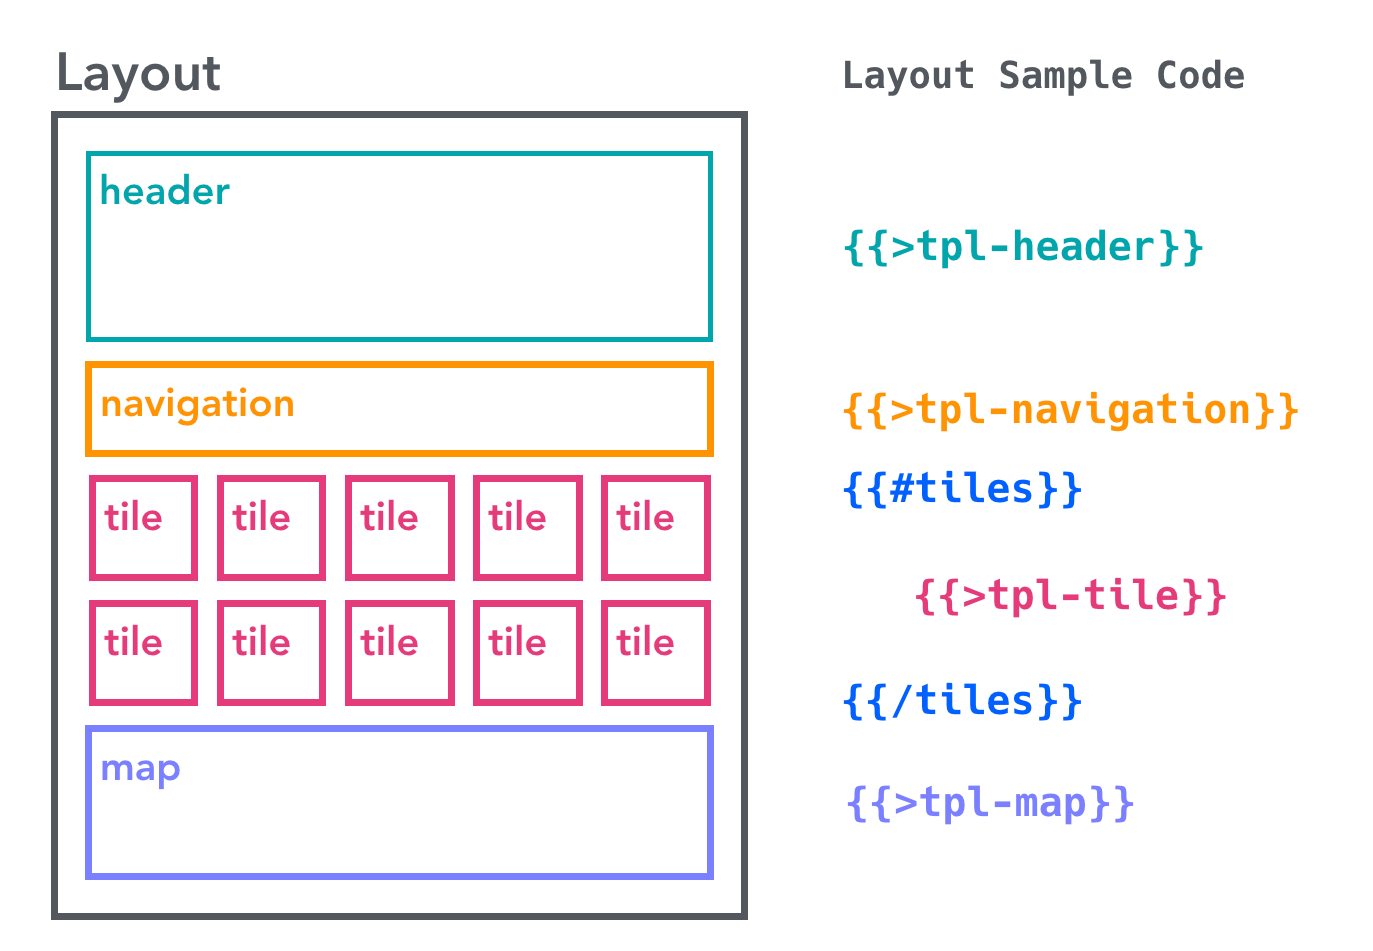
The above diagram illustrates the Layout template which includes Header, Navigation, Tile (inside the loop), and Map templates. We've created the following widget with this templates structure. See? You basically can create a micro-site with our Blank Canvas. Awesome right?
Note the above example just demonstrates the ability to use multiple templates. There is no interaction between photos and map.
Sample Code
You can copy and paste the following code as your boilerplate. Or you can just click the Fork link (at the top-right corner) to get them directly.

Layout
The following Tile template will be included by the {{>tpl-tile}} syntax. The tiles is an array collection containing tile objects. It must be prepared in the Custom JS Editor - which [we will talk about later](#js-stackla.loadTilesByFilter).
Tile
In the above sample code, we use id, emoji, message, and image properties. We have provide quiet a few Tile properties so that you can assemble your own structure easily. Please check the Tile Properties section in the API documentation for more details.
Step 5 - Coding for CSS
All the CSS rules reside within the iframe, so you don't need to worry about any conflicts with your page.
Please make use of the @import directive to import the external CSS stylesheets you need.
Sample Code
Again, you can click the Fork link to grab the following code.
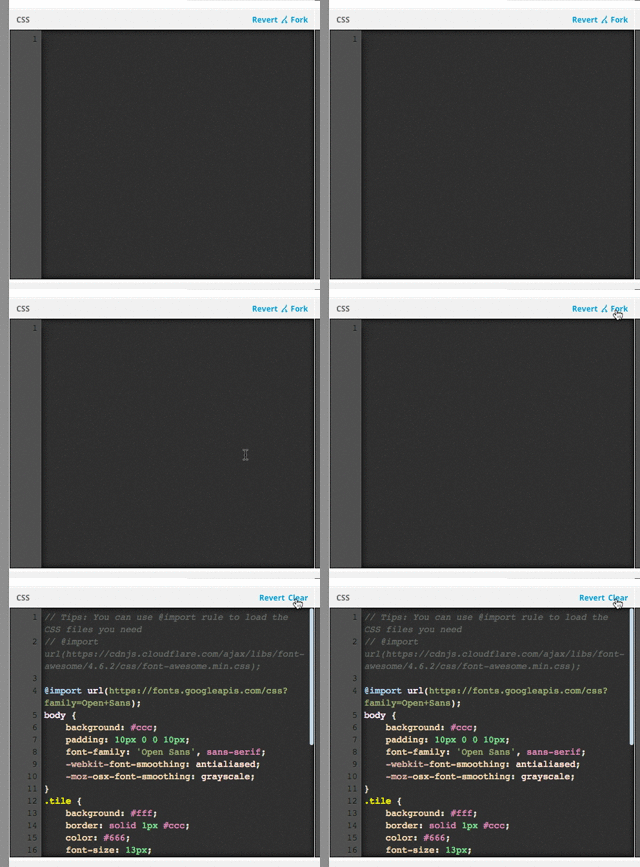
Step 6 - Coding for JavaScript
Blank Canvas provides a simple SDK, which allows you to boost the development speed. Let's learn this SDK by reading the following boilerplate code.
Used JavaScript Libraries
The Blank Canvas currently has the following JavaScript libraries installed.
jQuery: You can access it by using the
$global variable. The current version is 1.11.0.lodash: You can access it by using the
_global variable. The current version is 3.10.1.Mustache.js: You can access it by using the
Mustacheglobal variable. The current version is 0.8.1.twemoji: You can access it by using the
twemojiglobal variable. The current version is 2.jquery.cookie: You can access it by using the
jQuery.fn.cookie.lazyload: You can access it by using the
Lazyloadglobal variable.js-xss: You can access it by using the
filterXSSglobal variable.twitter-text: You can access it by using the
twttr.txtglobal variable. The current version is 1.13.0
Global Setting Object
You can access some basic information about this widget from the Stackla.widgetOptions global variable. Please check the API documentation for more details.
JavaScript SDK Methods
I would like to highlight the three used methods which are Stackla.loadJS, Stackla.loadTilesByFilter, and the Stackla.render.
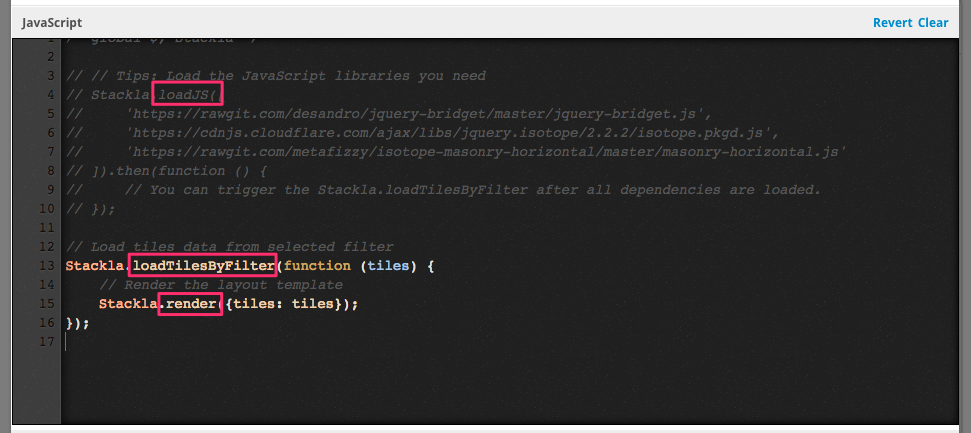
Stackla.loadJS
This method helps you to load the external JavaScript files parallelly and execute by order. It has better performance than using the multiple tags. Please check the How to Load External JS and CSS into Widgets to get more details.
It supports both the callback-style and the promise-style.
Stackla.loadTilesByFilter
This method helps you to load the data from the selected filter, which reduces a lot of work relating to API requests and pinned tiles ordering.
It supports both the callback-style and the promise-style.
The only argument of the callback function is the tiles data which we mentioned above.
Stackla.render
This method helps you to render the Mustache templates you defined. After all content is rendered, it will automatically resizes the belonging iframe to proper height.
The only parameter is the data object which you want pass to the Mustache template.
Sample Code - Gathering Everything Together
Now hope you fully understand how these methods work.
Result - The Boilerplate Widget
After applying all the Layout, Tile, CSS, and JS code by the above boilerplate code, you should get a simple widget. It's not fancy at all. However, it's just easy enough for you to understand how Blank Canvas works quickly.
Bonus - Creating the Horizontal Masonry Widget
You are probably one of our clients who wants to use the Horizontal Masonry Widget. Now you can use our Blank Canvas Widget to achieve it!
Layout
The Layout is the same as the boilerplate code.
Tile
Tile is also pretty much the same as the boilerplate code. We just add an tile--double class when the isDouble property of the tile object is valid.
CSS
We want the content to be displayed only when the user hovers over the tile. This effect is done by the CSS.
JavaScript
We use Stackla.loadJS to load the three required libraries. In the example below, I have randomly chosen maximum four tiles to append the isDouble attributes which optimizes the visualization.
Live Demo!
That's it! It's time for you to create a brand new widget to amaze your users!!
Last updated