Creating a Data Template
Overview
Nosto's UGC offers the ability for clients to append their own Custom Data to any Tile or Tag on the Platform, allowing for clients to enrich the content on their Stack with additional data.
This custom data is appended to the Tile or Tag data and is available to be rendered through any Nosto's UGC output, plus the Nosto's UGC API.
In this guide we are going to build two Custom Data templates, one for Tiles, and one for Tags, which we can then leverage via the Nosto Admin Portal.
Building the Templates
Getting Started
For the following guide we are going to create two simple Data Templates within our Stack. The use-cases for each are outlined below:
Add a response to a Question on a Tile
Add alternative Pricing to a Product Tile
Data Templates for Tiles
First step is to define our template. As outlined on the Data Templates page, you will need to define a Template Name, Title and Scope before you can start building out the form.

For the purpose of this guide, we are going to give the Data Template form the Name and Title of 'Q&A Template'. From here we are going to select Scope.
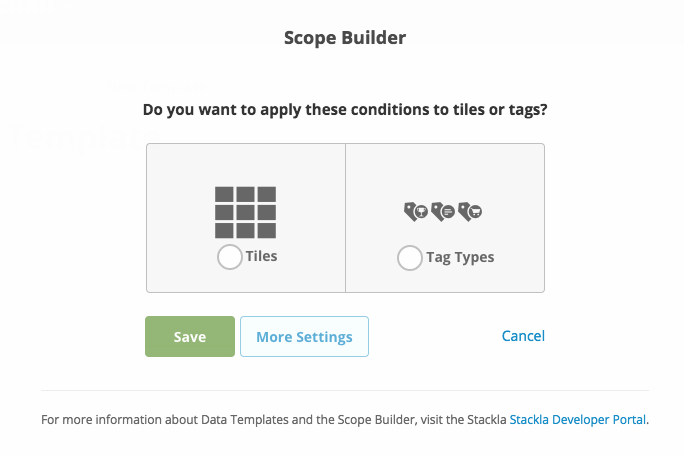
We will select the Scope 'Tiles', and click on the More Settings button to limit this only to Text tiles.
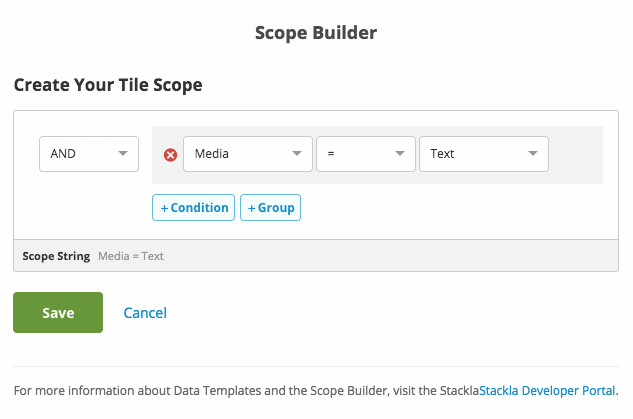
The Scope builder works very similar to Advanced Tag Builder on the Platform. We are going to enter a very simple query of Media = Text
From here we can define our Schema and Options. Nosto's UGC Data Templates use a framework called Alpaca to define these elements, with the JSON Schema defining how the data is stored in Nosto's UGC, and Options defining how it is rendered in the form.
For this guide, we want to store two attributes, the Answer to the question (Text Area) and the author of the response (Picklist). As such we will put the following code in:
Schema:
Options:
We can now hit Save on our Data Template, and then go to Curate Content to access the Data Template form.
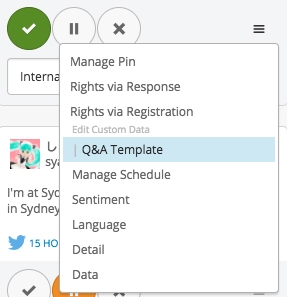
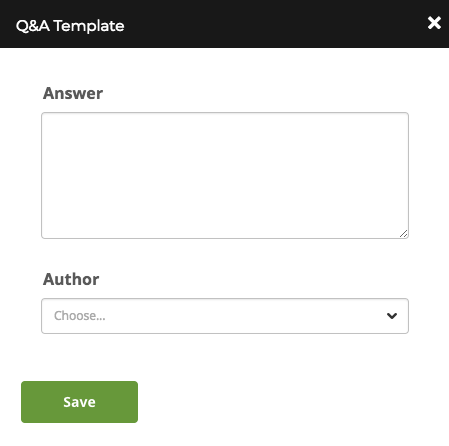
The option will be available via the overflow menu on the respective Tile. Once clicked on, the Data Template form will appear and can be edited by the User.
Data Templates for Tags
The process for building a Data Template for Tags is very similar to Tiles. The only real difference is the Scope.
As per Data Templates for Tiles, we will start by defining our Name and Title.

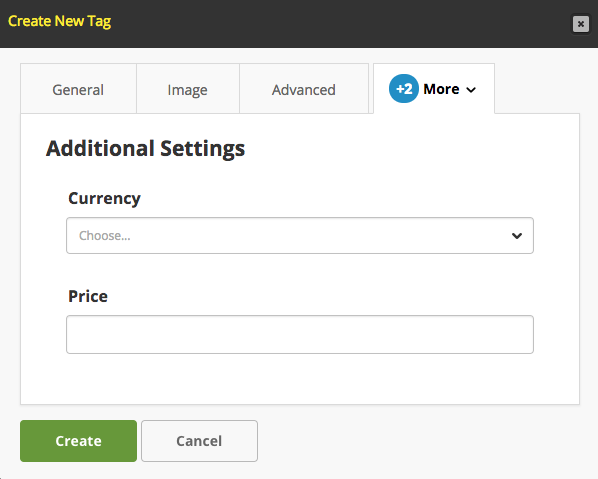
For the purpose of this guide, we are going to give the Data Template form the Name and Title of 'Additional Settings'. From here we are going to select Scope.

We will select the Scope 'Tags', and click on the More Settings button to limit this only to Product tags.
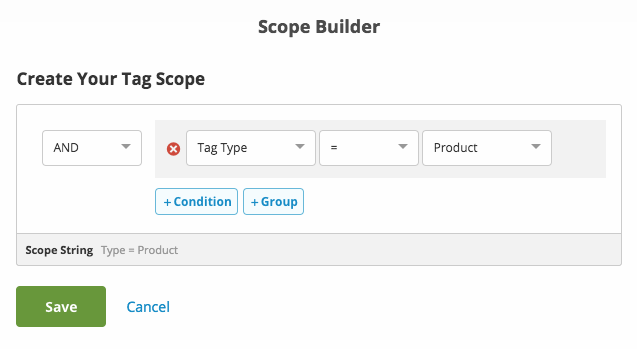
The query we will enter here is simply Tag Type = Product
We can now our Schema and Options. For this guide, we will want to offer a series of sizes and colours
Schema:
Options:
From here we can hit Save. To view the additional fields for our Tags, we simply go to Manage Tags under Curate and it will be available as Tab option.
Next Steps
Once we've built our Custom Data templates, we can start populating them, and rendering this information on our outputs.
Last updated