Styling Widget Shopspots
You are reading the Classic Widget Documentation
Classic widgets are a previous widget version for onsite widgets created before September 23rd.
From September 23rd 2025, all new widgets created will be NextGen.
Please check your widget version on the Widget List page to see if it is Classic or NextGen widget.
You can read the NextGen widget documentation here.
Overview
This article will instruct you on customizing Shopspot style in both Tiles and Expanded Tiles (a.k.a Lightbox).
Shopspots in Tiles
You can style Shopspots in tiles via the Custom CSS tab in Nosto Admin Portal.
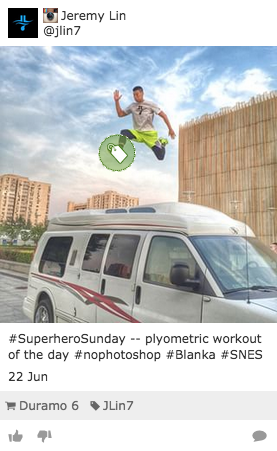
HTML Structure
The structure is pretty simple. It uses .tile-shopspot as namespace.
Be aware that our default style also makes use of the :before pseudo class for inner border. Remember to reset it if you don't need it.
Sample CSS
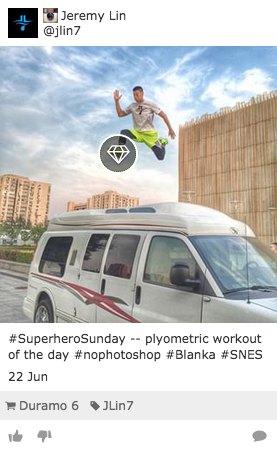
By pasting the following code into your Custom CSS in Nosto'sNosto's UGC Widget setting, you can change the default style of Tile Shopspot.
Shopspots in Expanded Tile (a.k.a Lightbox)
Since Expanded Tile resides in your page instead of Nosto's UGC Widget iframe, you will need to put your customized stylesheet in your own page, not via the Nosto Admin Portal.
The following snapshot illustrates the style of default Expanded Tile.
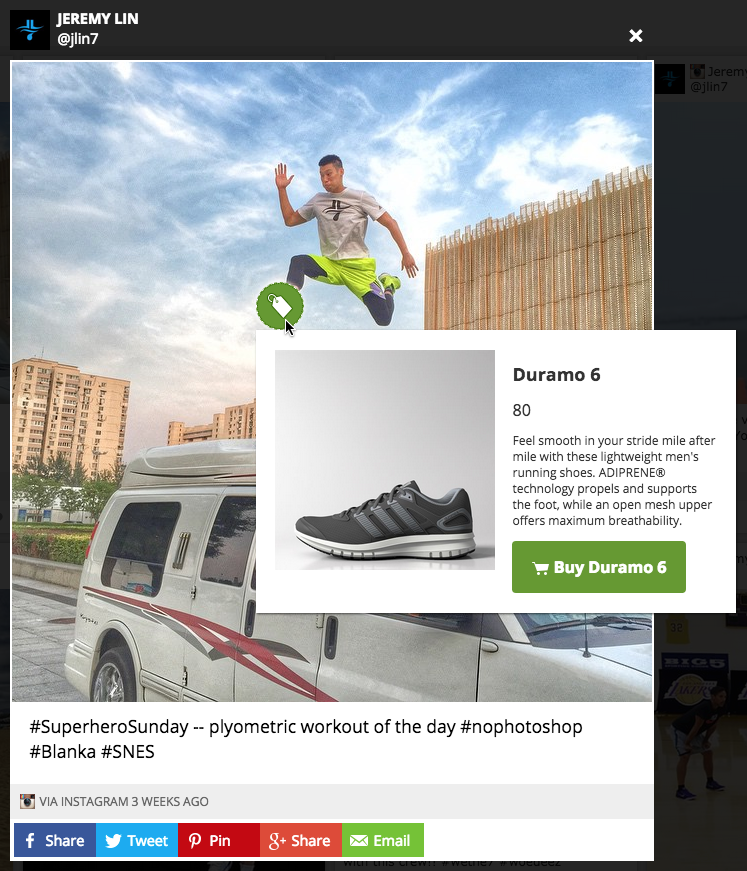
HTML Structure
A Shopspot element (.stacklapopup-shopspot) wraps both icon (.stacklapopup-shopspot-icon) and flyout (.stacklapopup-shopspot-flyout). The following diagram shows detailed HTML structure with CSS class names.
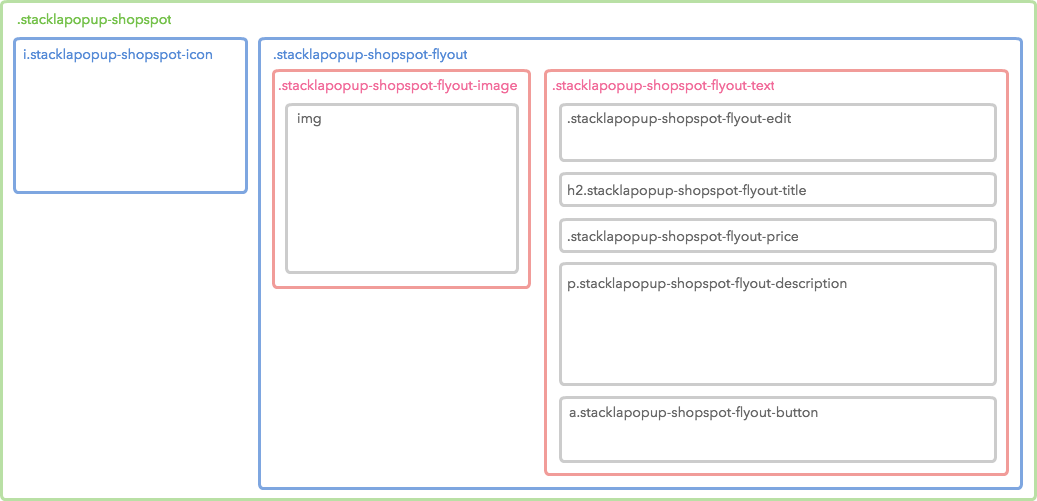
The following is the sample HTML source code, which has the same architecture with the above diagram.
How Does Flyout Work?
Our default style restricts the dimension to 46x46 and sets overflow:hidden style so the user can't see the flyout by default. When the user hovers to an icon, the hover class (.stacklapopup-shopspot-hover) will be attached which sets overflow: visible and displays the flyout.
Sample CSS
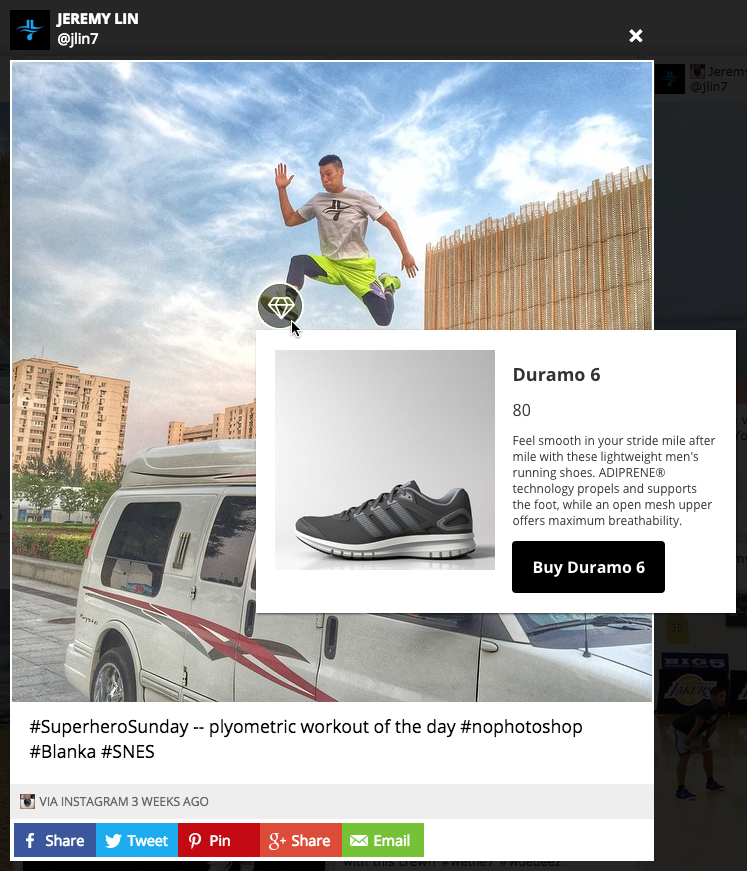
By pasting the following code into one of stylesheets of your website, you can get the above customized style.
Shopspot Animation
The default style sets top: -24px; and left: calc(100% -24px); so that Shopspot flies from top-right corner. The default Shopspot dimension is 24px * 24px.
Flying from Left-Top Corner
You can simply change the top and left properties to -24px to make it flying from top-left corner.
Removing Animation
You can remove the animation by using the following CSS code.
Replacing with Fade-in
You can use CSS3 Animation to achieve many effects. The following fade-in effect is just an example.
Last updated