Managing Blocks
First steps
Set application to development mode with
bin/magento deploy:mode:set developerThe preferred method to edit Nosto's block data is by Extending Nosto's Module. However you can also Create a Storefront Child Theme. Notice that by creating a new child theme, all widgets defined in the parent theme will not be inherit by the child theme, you would have to manually recreate all of them.
Managing Blocks
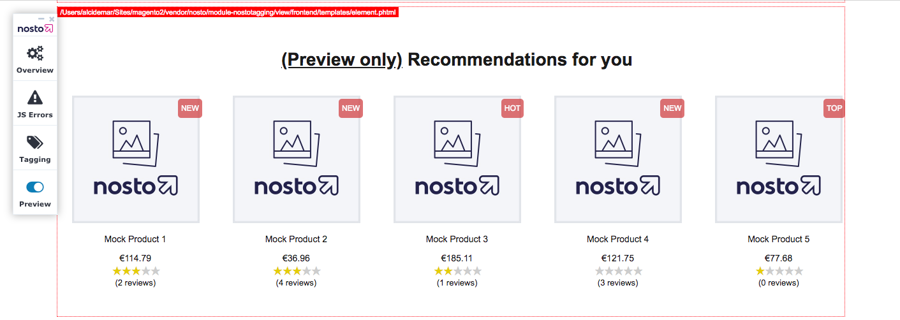
Enable Template Path Hints for Storefront
In order to identify which block, or which template is being used in Magento's front end blocks, we need to activate Template Path Hints
On the Magento 2 Admin Panel, click on
Stores, thenConfigurationunder the Settings tabScroll down and expand the
Advancedgroup, now selectDeveloperUnder the
Debuggroup you will findEnabled Template Path Hints for Storefront, selectYesfrom the dropdown menu and hit theSave Configbutton.
Your frontend now should look like this: 
Add Layout and Template Files - Overriding
After identifying which template we want to override, in this example we will use the element.phtml template, we will now look at it's layout file located in the Vendor\Nosto folder of your Magento 2 Installation.
Navigate to vendor/nosto/module-nostotagging/view/frontend/templates and you will find the element.phtml Now, if we want to override this template, we need to create some directories according to the name of the theme or module we are overriding.
Using a child theme
If you are using a child theme, you need to create a folder named Nosto_Tagging, which is the name of our module.
In the path app/design/frontend/<vendor>/<theme_name>/Nosto_Tagging we also need to create 2 new directories.
Create a new folder named
layoutand another folder namedtemplatesInside the
templatesdirectory, we put the new templates structure we want Nosto to use, so create theelement.phtmlfile there with the following content:
Inside the
layoutfolder we need to create a new file named default.xml, the basic structure for this file is:
Using the module extending solution
In case you have extended the Nosto module, you need to mirror the vendor folder structure.
Create the following directory structure:
Inside the
templatesdirectory, we put the new templates structure we want Nosto to use, so create theelement.phtmlfile there with the following content:
Inside the
layoutfolder we need to create a new file named default.xml, the basic structure for this file is:
At the end, you should at least have the structure below:
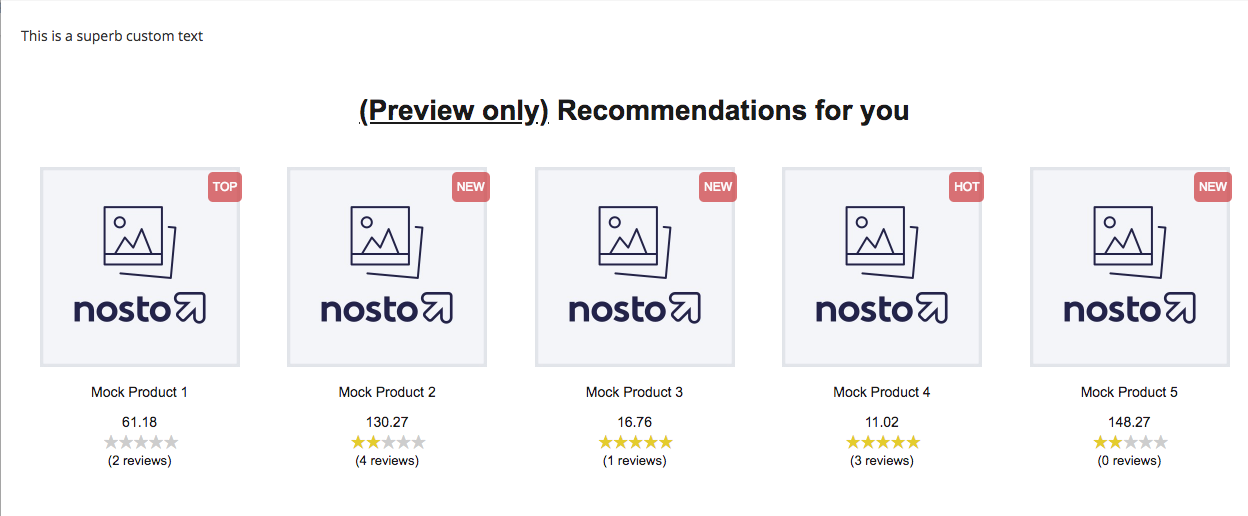
Clear cache and visit Magento's FrontEnd, and you should see the text in Nosto's element.

Moving Blocks Position
In order to move a block inside a page, we need to set the tag move in our layout file.
If you are using the child theme method, navigate to
app/design/frontend/<vendor>/<theme_name>/Nosto_Tagging/layoutIf you are using the module extension method, navigate to
app/code/My/Nosto/view/frontend/layout
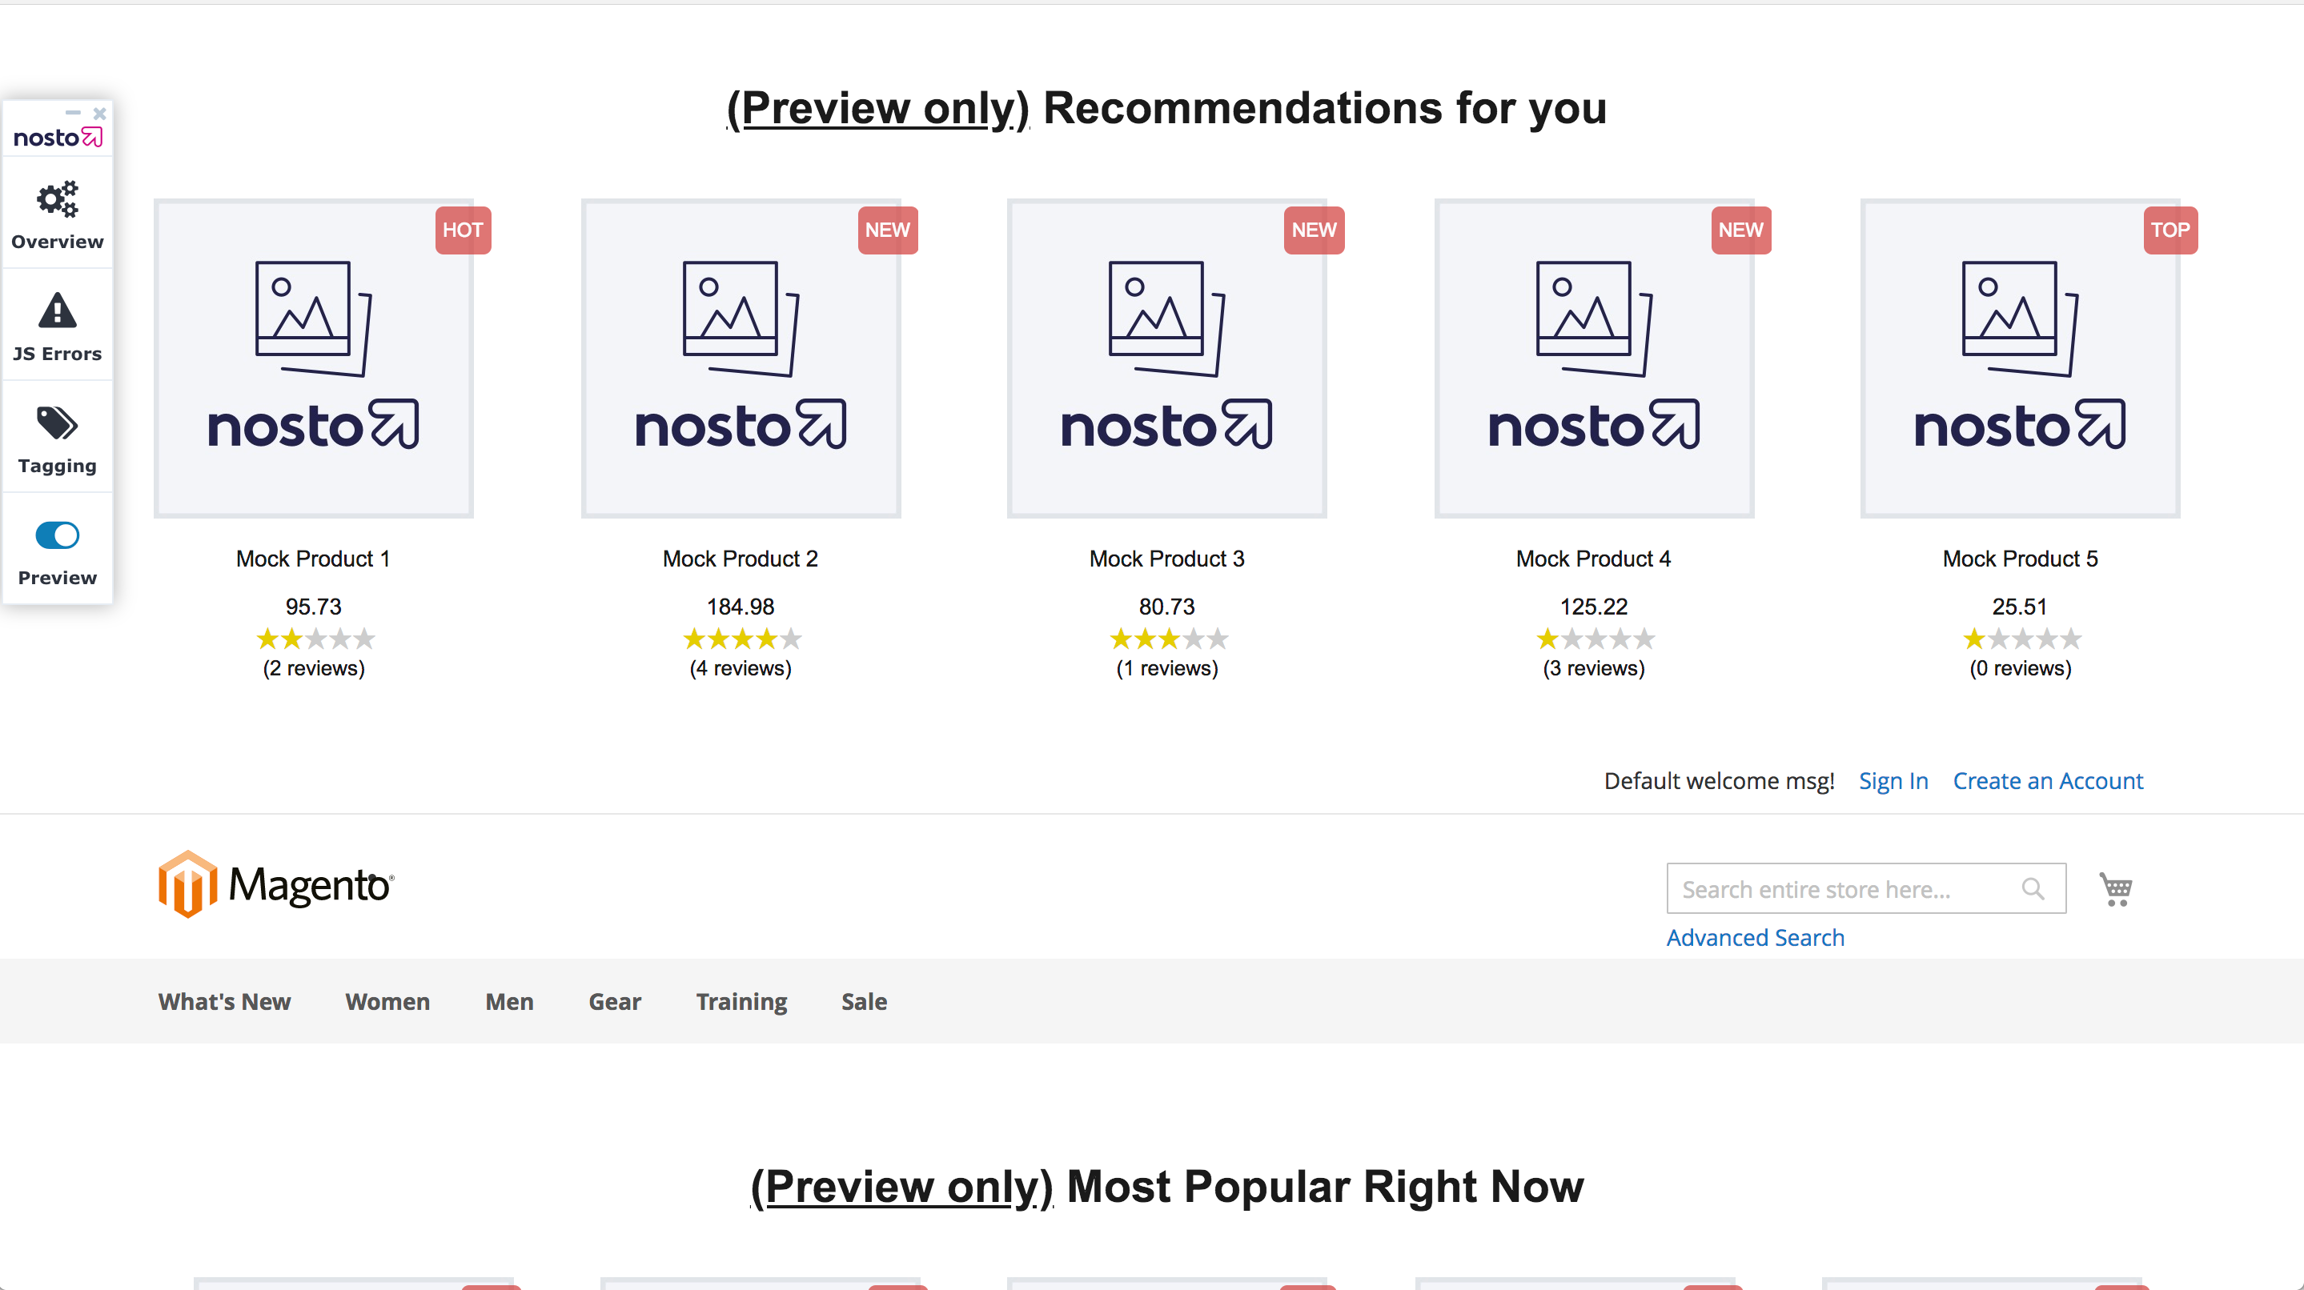
Using the corresponding xml file, define which block you will move to where. In this case, let's use the default.xml to move the Recommendations For You block:
You can also use the attributes after="-" and before="-" to define exactly after or before which element you will put the new one. The dash - means all elements.
The tag above will move the
nosto.page.home1block to the very top of the page.Set the destination container in the
destinationtag attributeSet the new alias in the
asattributeAdditionally, you can find the Nosto block names in the xml files under the
%magento_installation_path%/vendor/nosto/module-nostotagging/view/frontend/layoutdirectory

Last updated