Getting Started
Last updated
Last updated
For installing Nosto module on your Magento 2 store please read these instructions
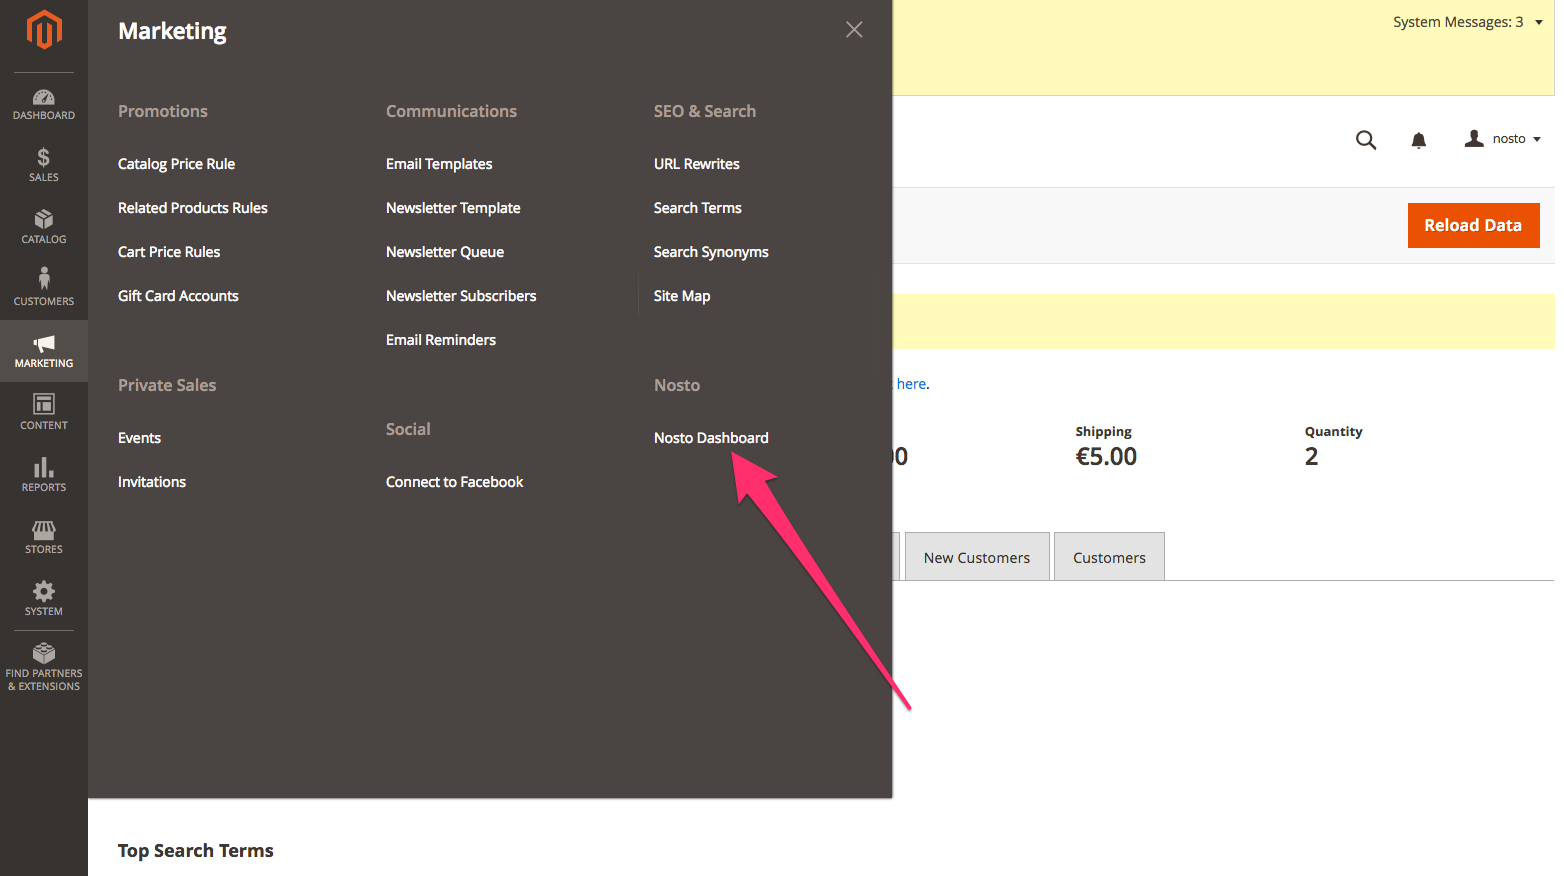
After you have installed and enabled Nosto module you will need to create a new Nosto account or connect an existing one into your store view. You can find Nosto Dashboard under Marketing section in your store admin (screenshot below)
Each store view typically represents a localized website version or entirely different store with separate selections on Magento. Nosto supports the structure by utilizing separate Nosto accounts for each Magento store view. Consider a Nosto account as a similar view to your website, its selection, and visitors, which a Magento store view represents. You may have the same Nosto setup on all of your store views, but most likely as localized site views are in different language, you can and should customise the setup for each. This is done by connecting a store view to separate accounts at Nosto. In case you have only one store view, you only need to connect your website and one view to Nosto.
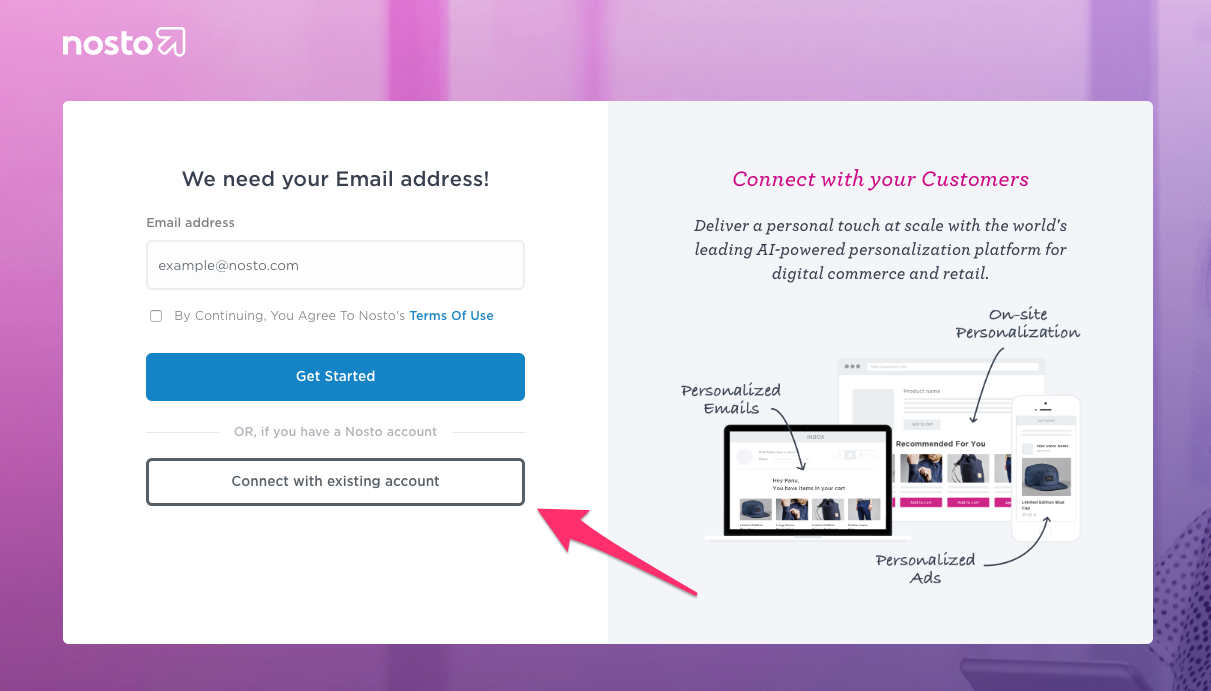
In order to enable Nosto in your store view navigate to Nosto Dashboard and either create new Nosto account or connect existing one.
If you already have an existing Nosto account you want to use in your store view you can simply click "Connect with with existing account" button on Nosto Dashboard and follow the Oauth flow.
See these instructions for connecting or disconnecting Nosto accounts using command line.