Getting Started
Installing Nosto on your Magento site is simple and done by using extension following these steps.
Download the Nosto Magento extension from Magento Marketplace or Github Releases.
Install the extension using Magento Connect Manager or the command line
Flush your Magento cache
Connect selected store-views to Nosto which will start collecting data from the site
Enable Nosto features and go live!
Log-in to your Magento Admin and navigate to Magento Connect manager to install Nosto extension. Alternatively, you can install the extension by using the command-line, but in this guide, we cover steps how to install Nosto by using tools available in Magento’s web-admin.
Download Nosto Magento extension and install it on your Magento by selecting upload and install, which will run the extension package in your Magento setup.
Uploading and installing Nosto extension will not yet enable data exchange process between your site and Nosto and doesn’t enable any of Nosto’s features. Once the package has been installed successfully, flush your Magento cache and proceed to the next step and connect store views to Nosto.
Creating an account
Magento Store View And Nosto Account Structure
Each store view typically represents a localized website version or entirely different store with separate selections on Magento. Nosto supports the structure by utilizing separate Nosto accounts for each Magento store view. Consider a Nosto account as a similar view to your website, its selection, and visitors, which a Magento store view represents. You may have the same Nosto setup on all of your store views, but most likely as localized site views are in different language, you can and should customise the setup for each. This is done by connecting a store view to separate accounts at Nosto. In case you have only one store view, you only need to connect your website and one view to Nosto.
Steps
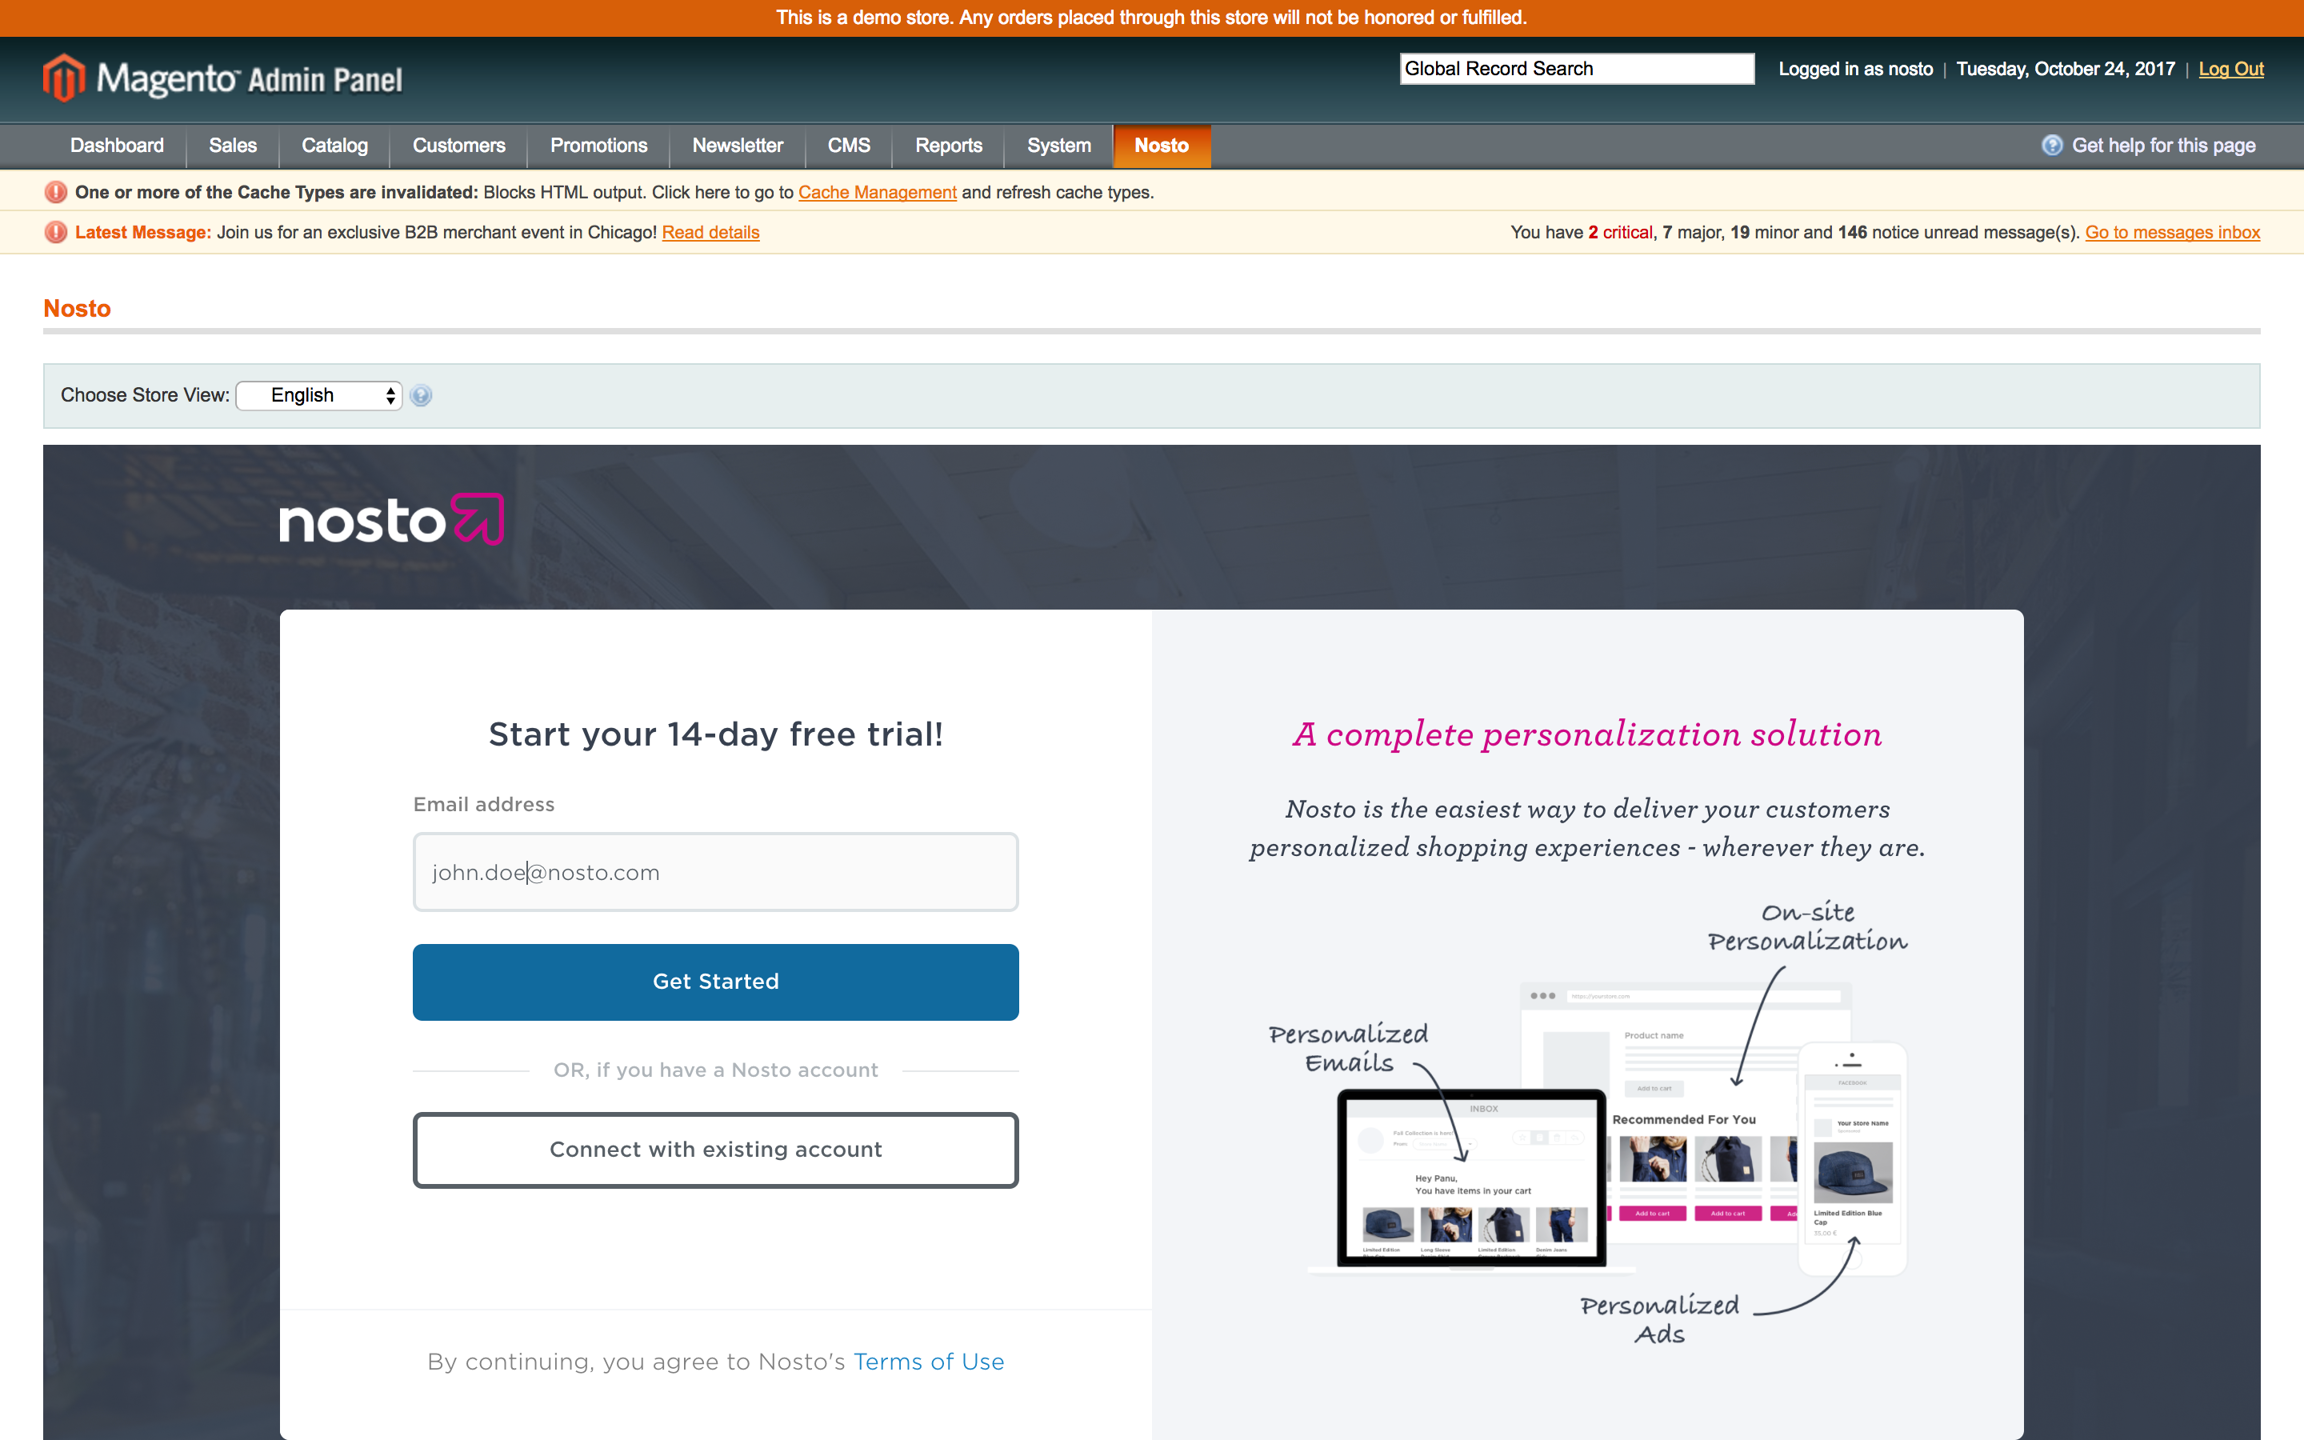
Connect a store view by selecting Nosto menu in the top bar. Proceed by selecting a store view, which you would like to connect to Nosto. The connection wizard will ask you a couple of questions about you, your store and its inventory before the connection is established. Connection steps will also open a Nosto account or require you to connect to an existing one.
The first view asks for your email address or prompts you to connect to an existing account, in case one has been created to you already by the Nosto team.

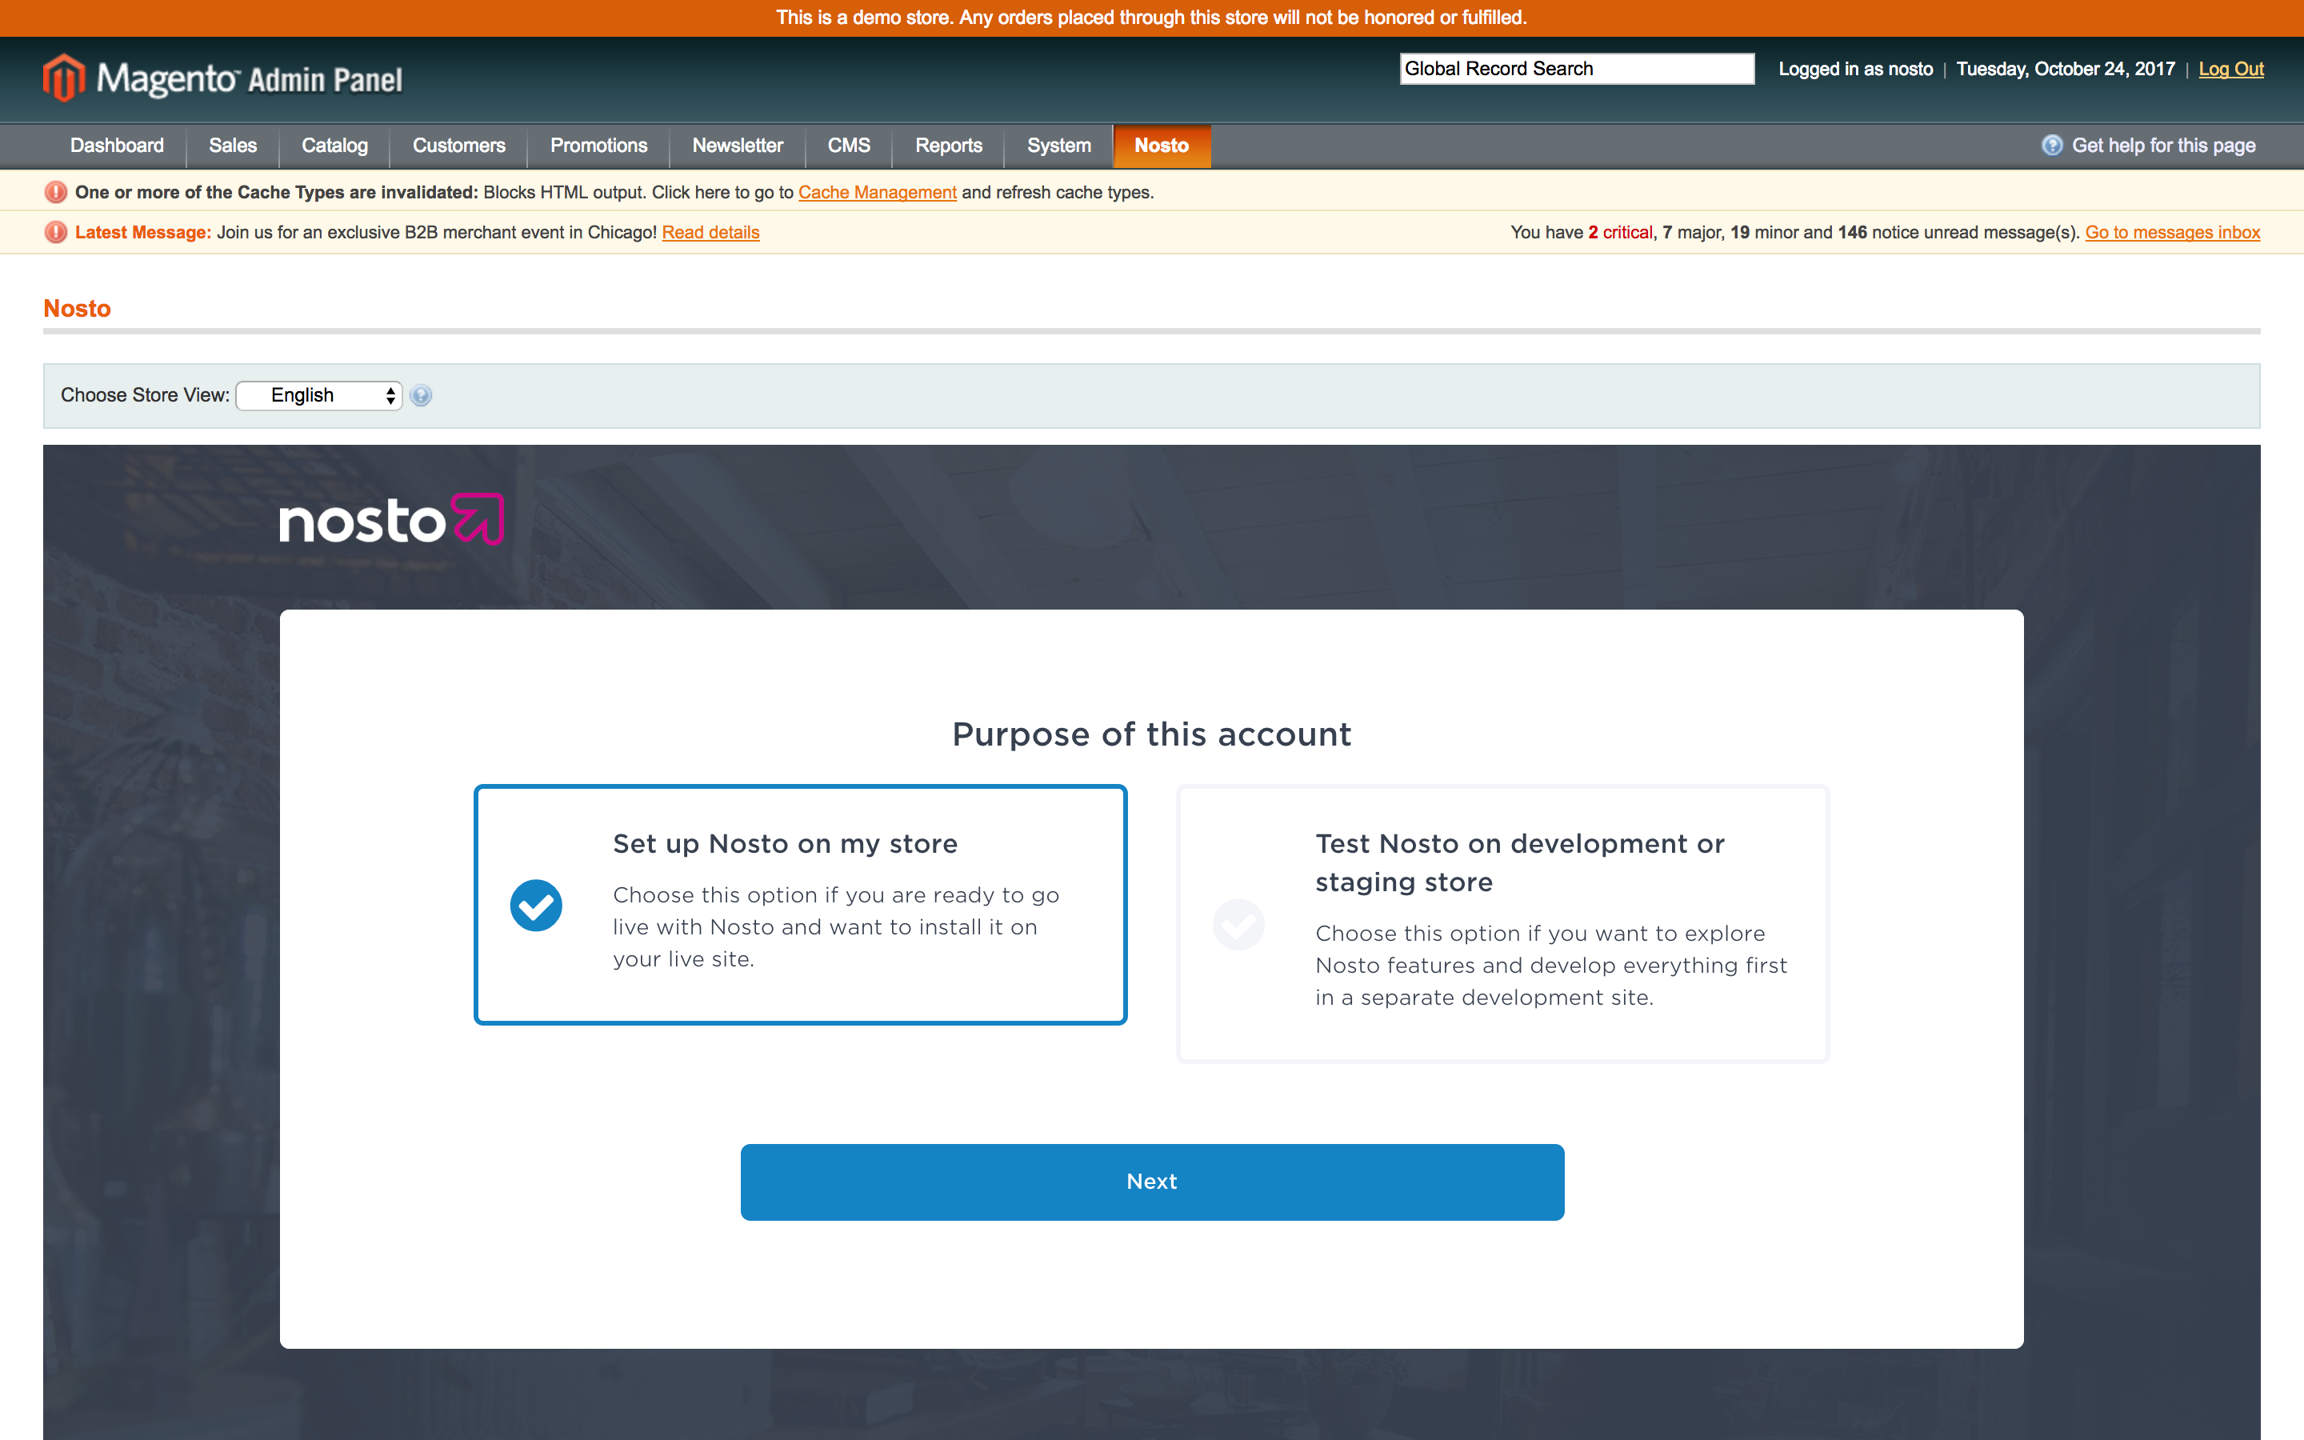
Once you’ve added your email address the wizard asks details about your setup.

Select Set up Nosto to my Store, if you are installing Nosto on a live production environment and if you don’t already have an existing Nosto account. Please note you need one account for each store-view
Select Test Nosto on my dev/staging store, if you are installing Nosto on a local development environment or any kind of staging/dev environment. This will open a free test account and connect it to your staging. Note that test accounts can’t be used for production purposes, but your staging account can be cloned as a production account by Nosto’s support. Read more about test and staging setups in the next chapter.
Data Exchange Technical Details
Connecting a store view to Nosto enables the data exchange process, meaning Nosto starts monitoring your site’s traffic, purchases, and customer behavior online. Connecting a store view doesn’t automatically enable any of Nosto’s features or make any visible changes on your site itself. All features are enabled later on from the Nosto admin panel.
When a store view is successfully connected to Nosto, we automatically generate a replica of store view’s product catalog in our service and keep it up to date. During the first connection, we also import anonymous purchase history of past month. We don’t import personal data of customers who bought from your store when you connect, but only product data or what was sold so that you could start using Nosto features as soon as possible. Technically this is done by processing the order data or in other words by analyzing which products have been commonly bought together.
When the connection is successfully established, we start tracking names and email addresses of customers who bought from your store, but you can opt-out from this by re-writing the module’s default functionality. We don’t collect other personal details such as delivery addresses, phone numbers or collect any payment card information, whereas email addresses are only used for Nosto’s email features and only on your store, should you like to utilize Nosto emails later on.
On the contrary, data exchange also allows Nosto to deliver the service as otherwise Nosto javascript and recommendations are not placed on the store view.
Enabling Nosto Features
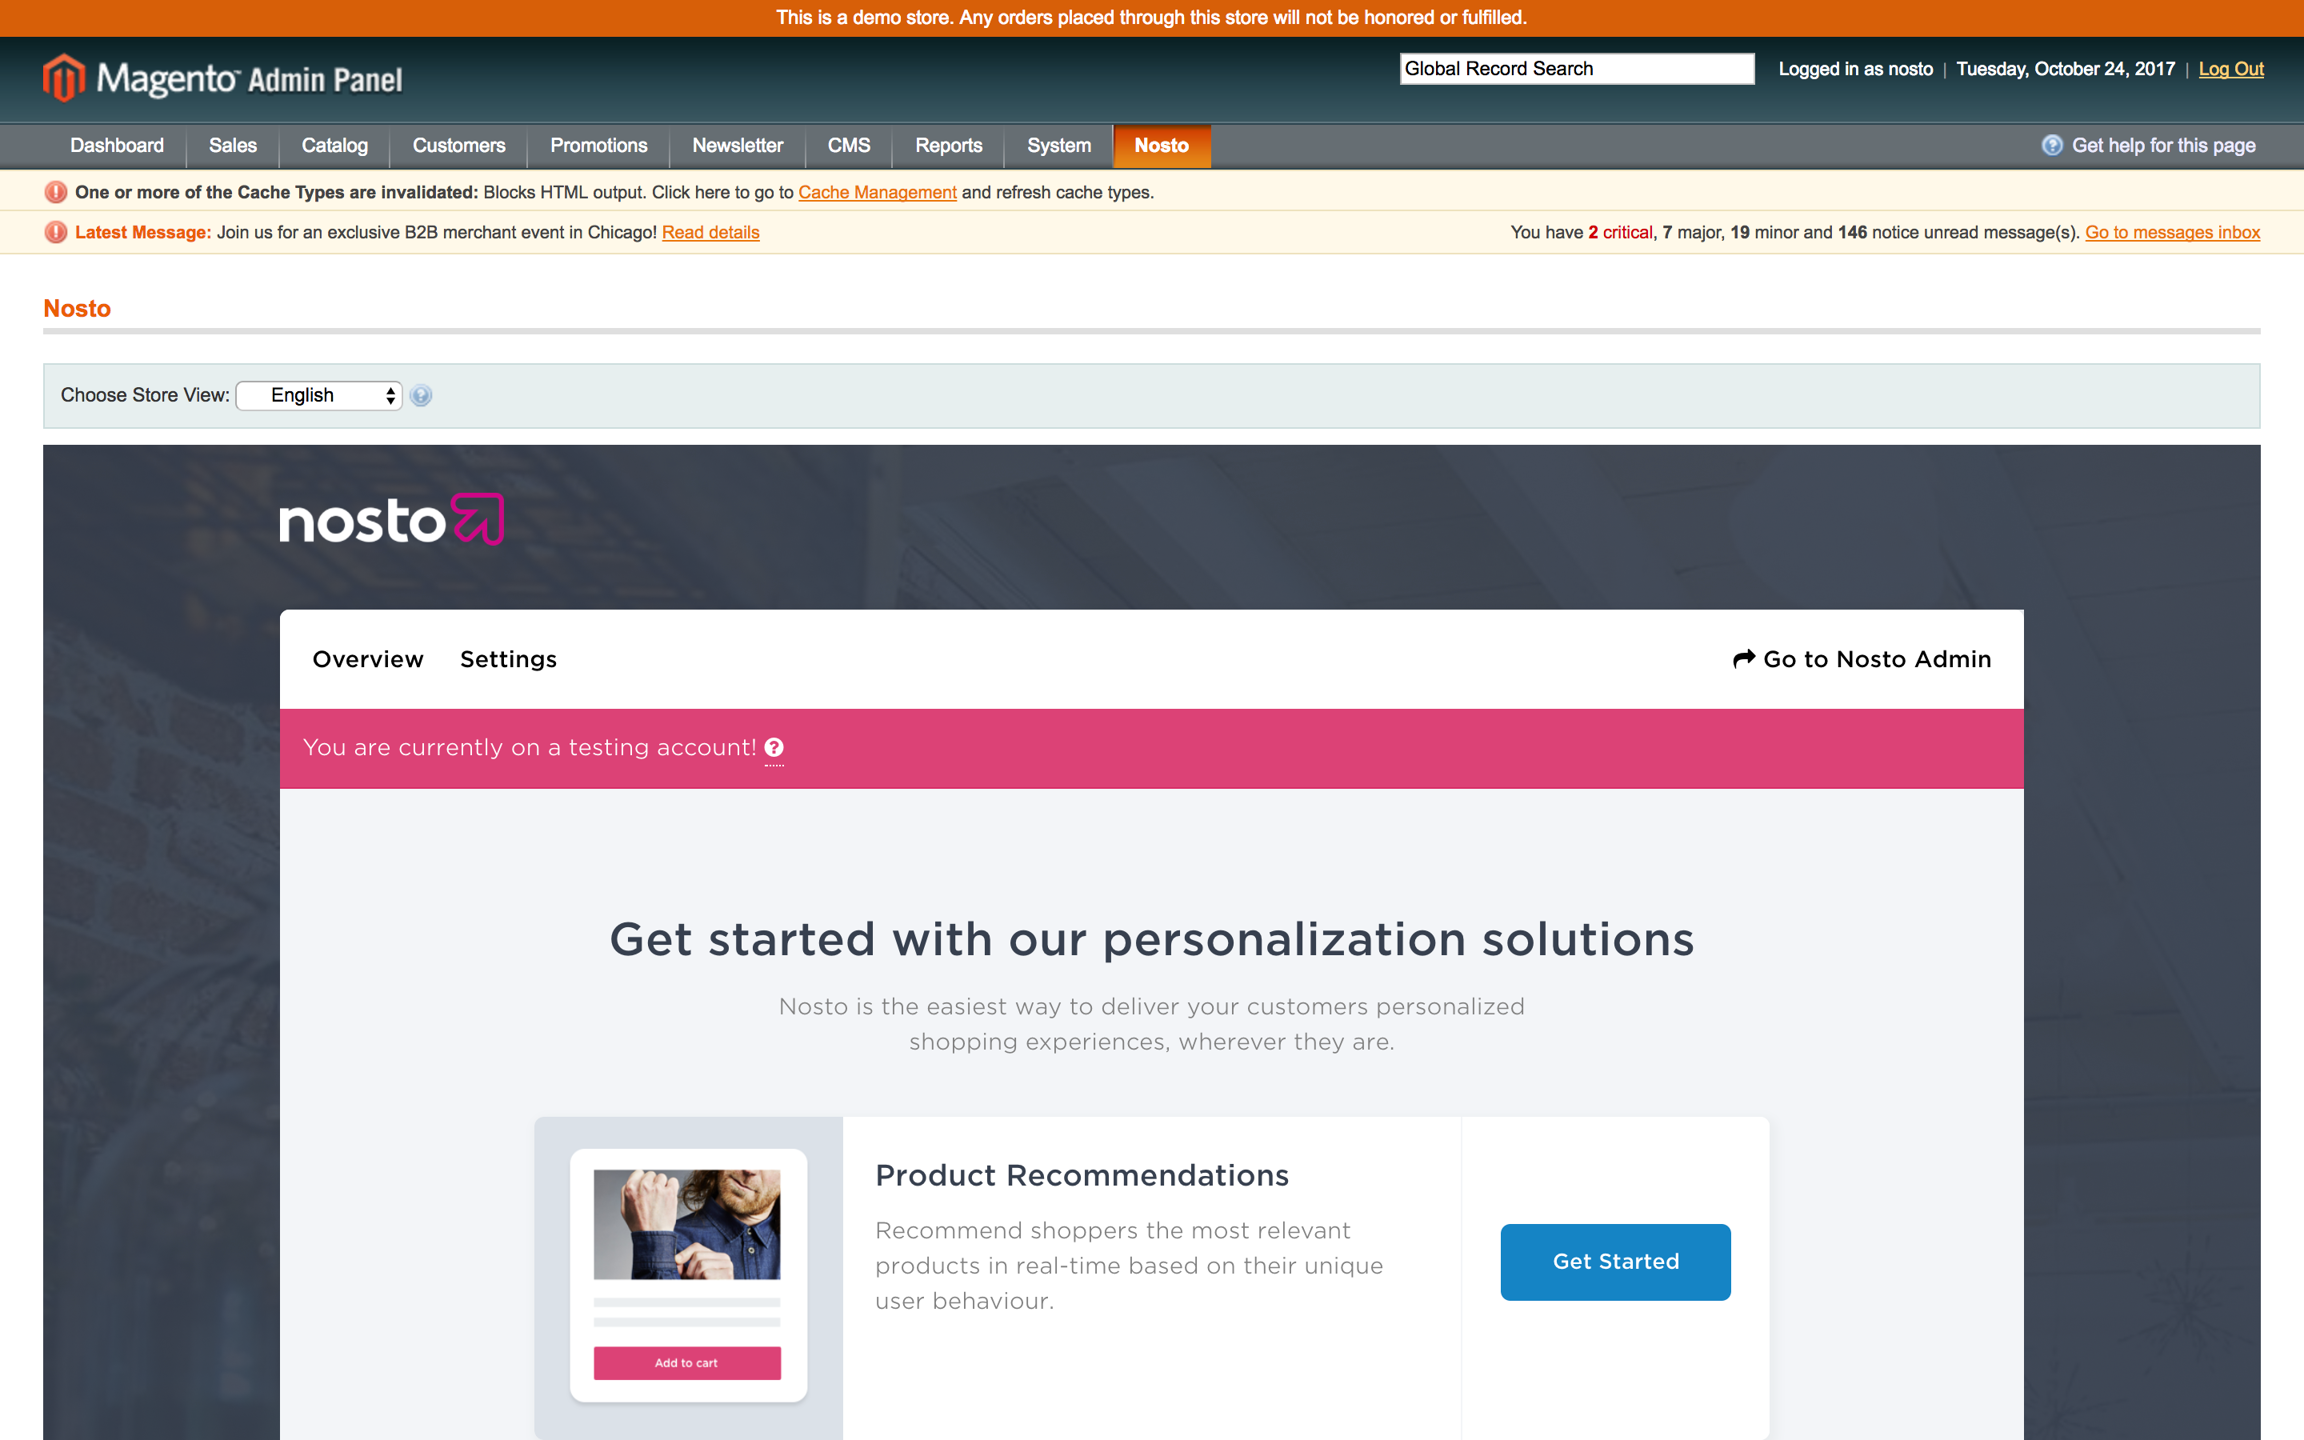
When you’ve successfully connected to your store view to Nosto, you’ll be directed to a landing page which directs you to the correct area in the Nosto admin when you want to enable Nosto’s features. Nothing on your website is live and visible to customers before you explicitly enable a feature. Click the Get Started link next to the desired feature to begin the wizard.

Removing Nosto From Magento
Disconnecting a store-view
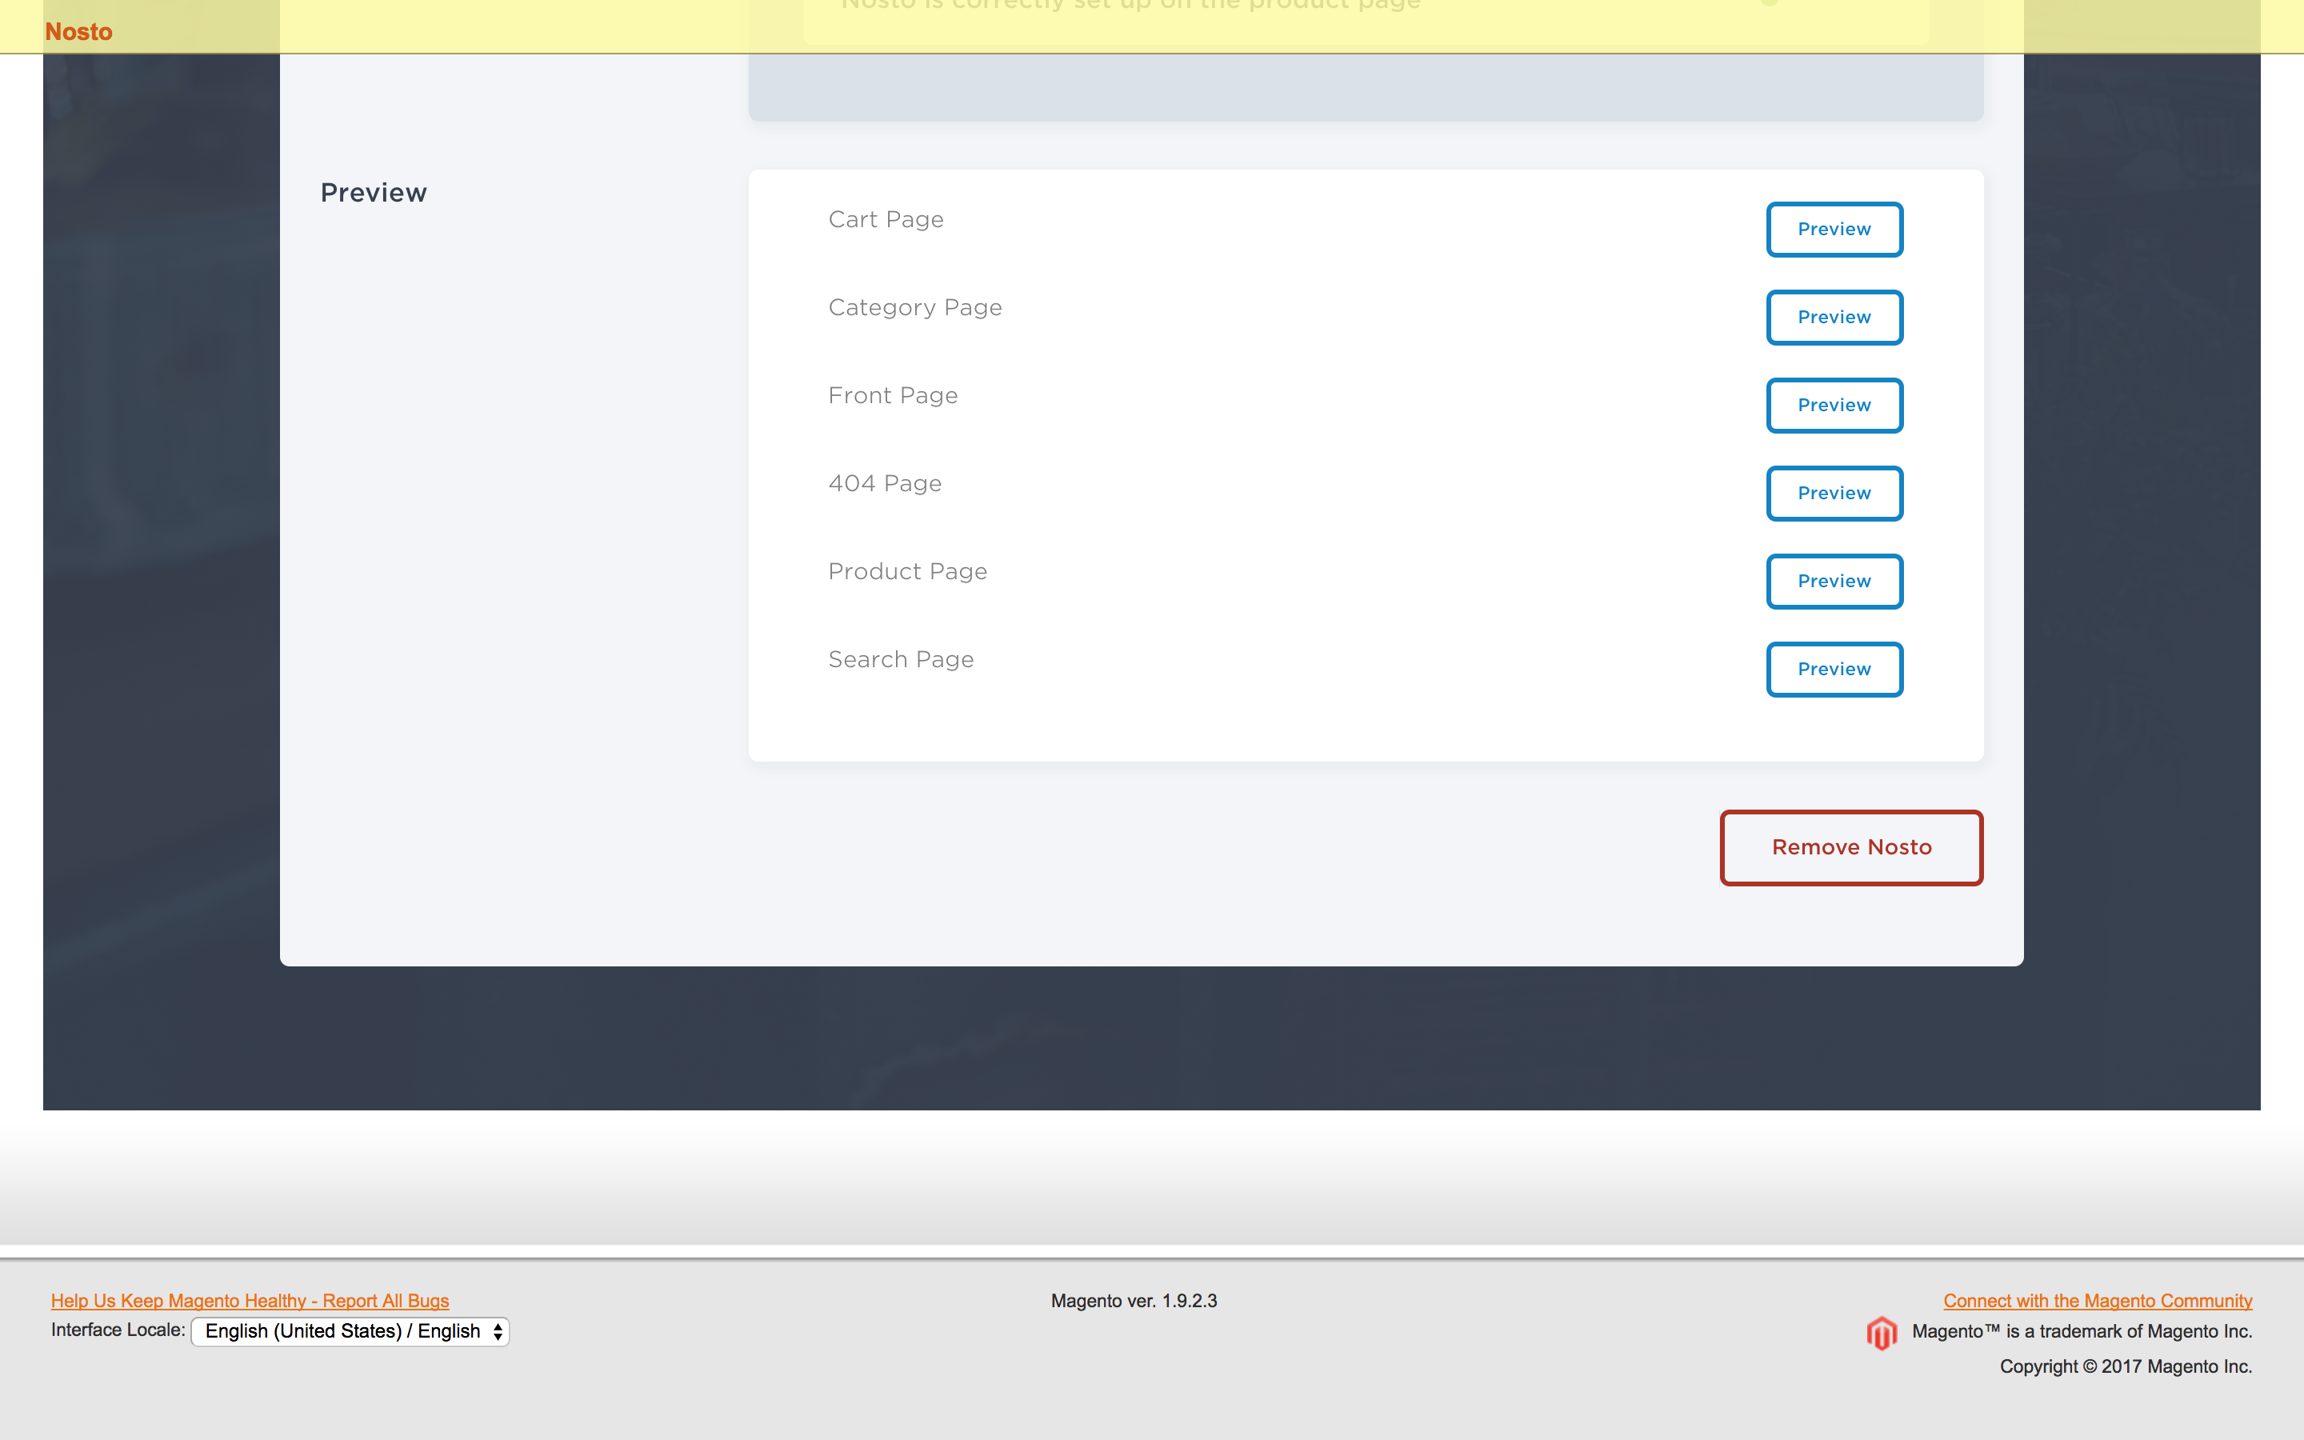
If you need to remove Nosto from a store-view, navigate to the Nosto tab, choose the desired store-view and then click the Settings menu in the extension's admins interface.
Under the Settings menu, click Remove Nosto. This will revoke all authentication tokens for that store-view and prevent any markup or scripts from being rendered on the frontend. While observers and layout handles are still registered, Nosto ceases to function for that store-view.
Note: you may need to clear your full-page cache (FPC) in order to completely remove any cached assets and blocks rendered by the extension.

Uninstalling the Extension
Disconnecting Nosto from a store-view simply detached the Nosto account but leaves the extension as-is. If you would like to remove the extension entirely, you will need to use Magento Connect Manager or liaise with your agency.
Last updated