Configuring
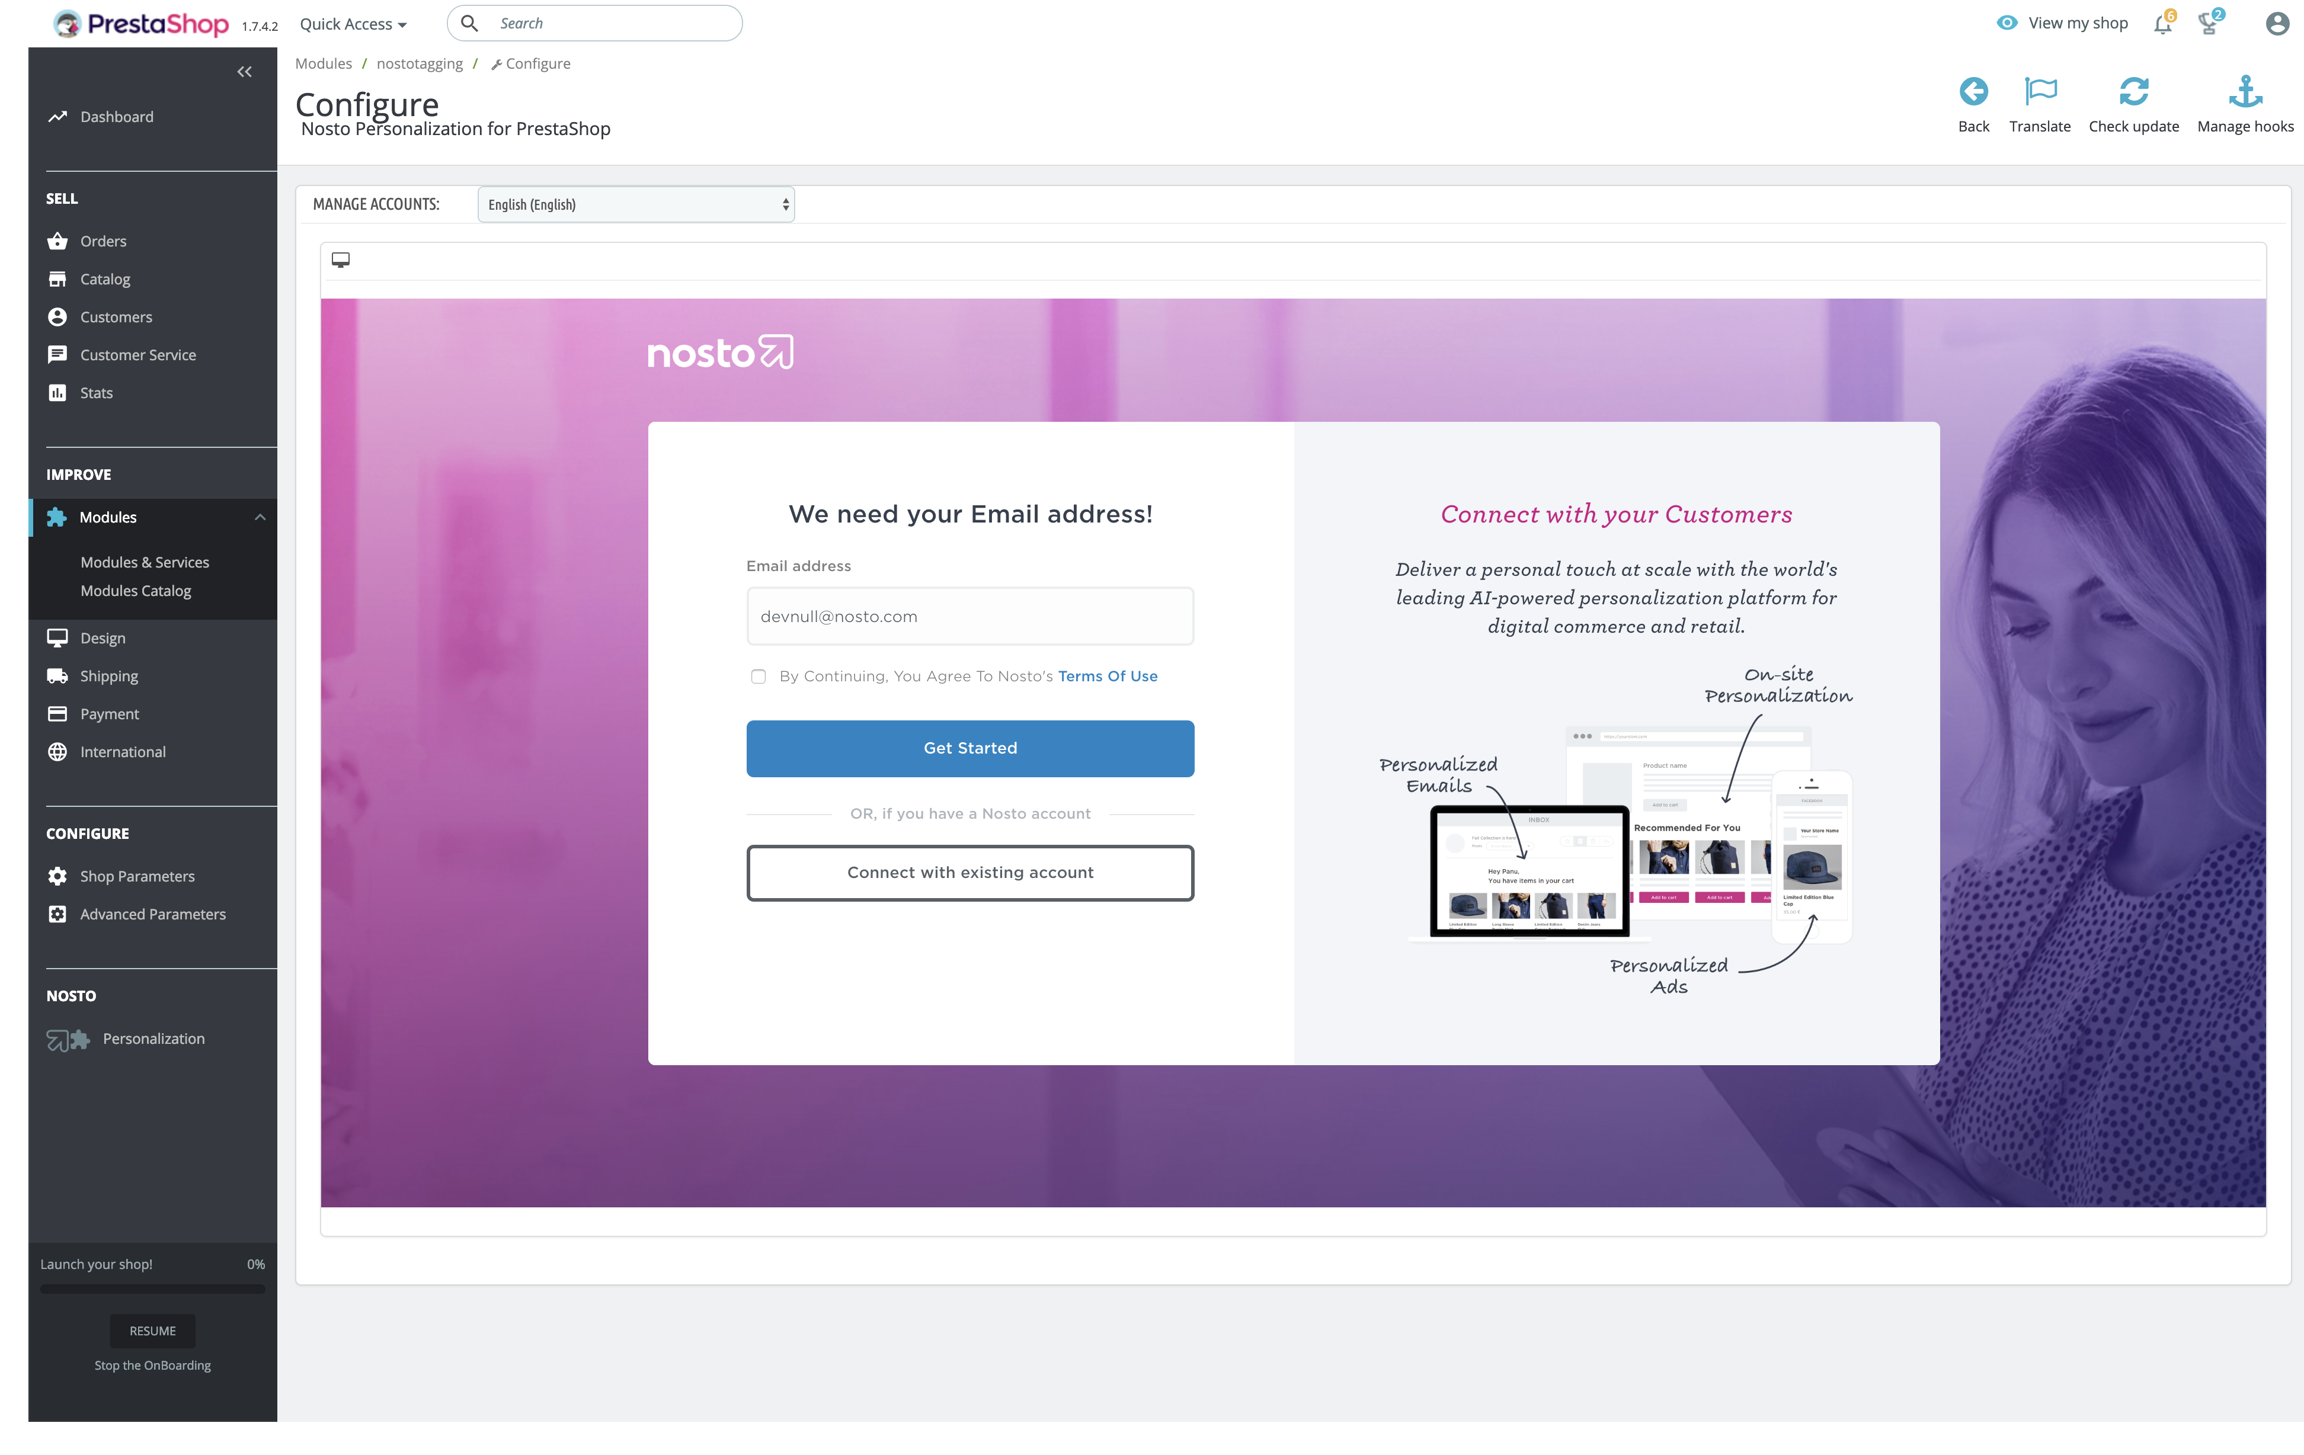
By clicking the modules Configure link in the modules listing of your PrestaShop backend, you will be redirected to the Nosto account configuration page were you can create and manage your Nosto accounts. You will need a Nosto account for each shop (multi-shop) and language in the installation.

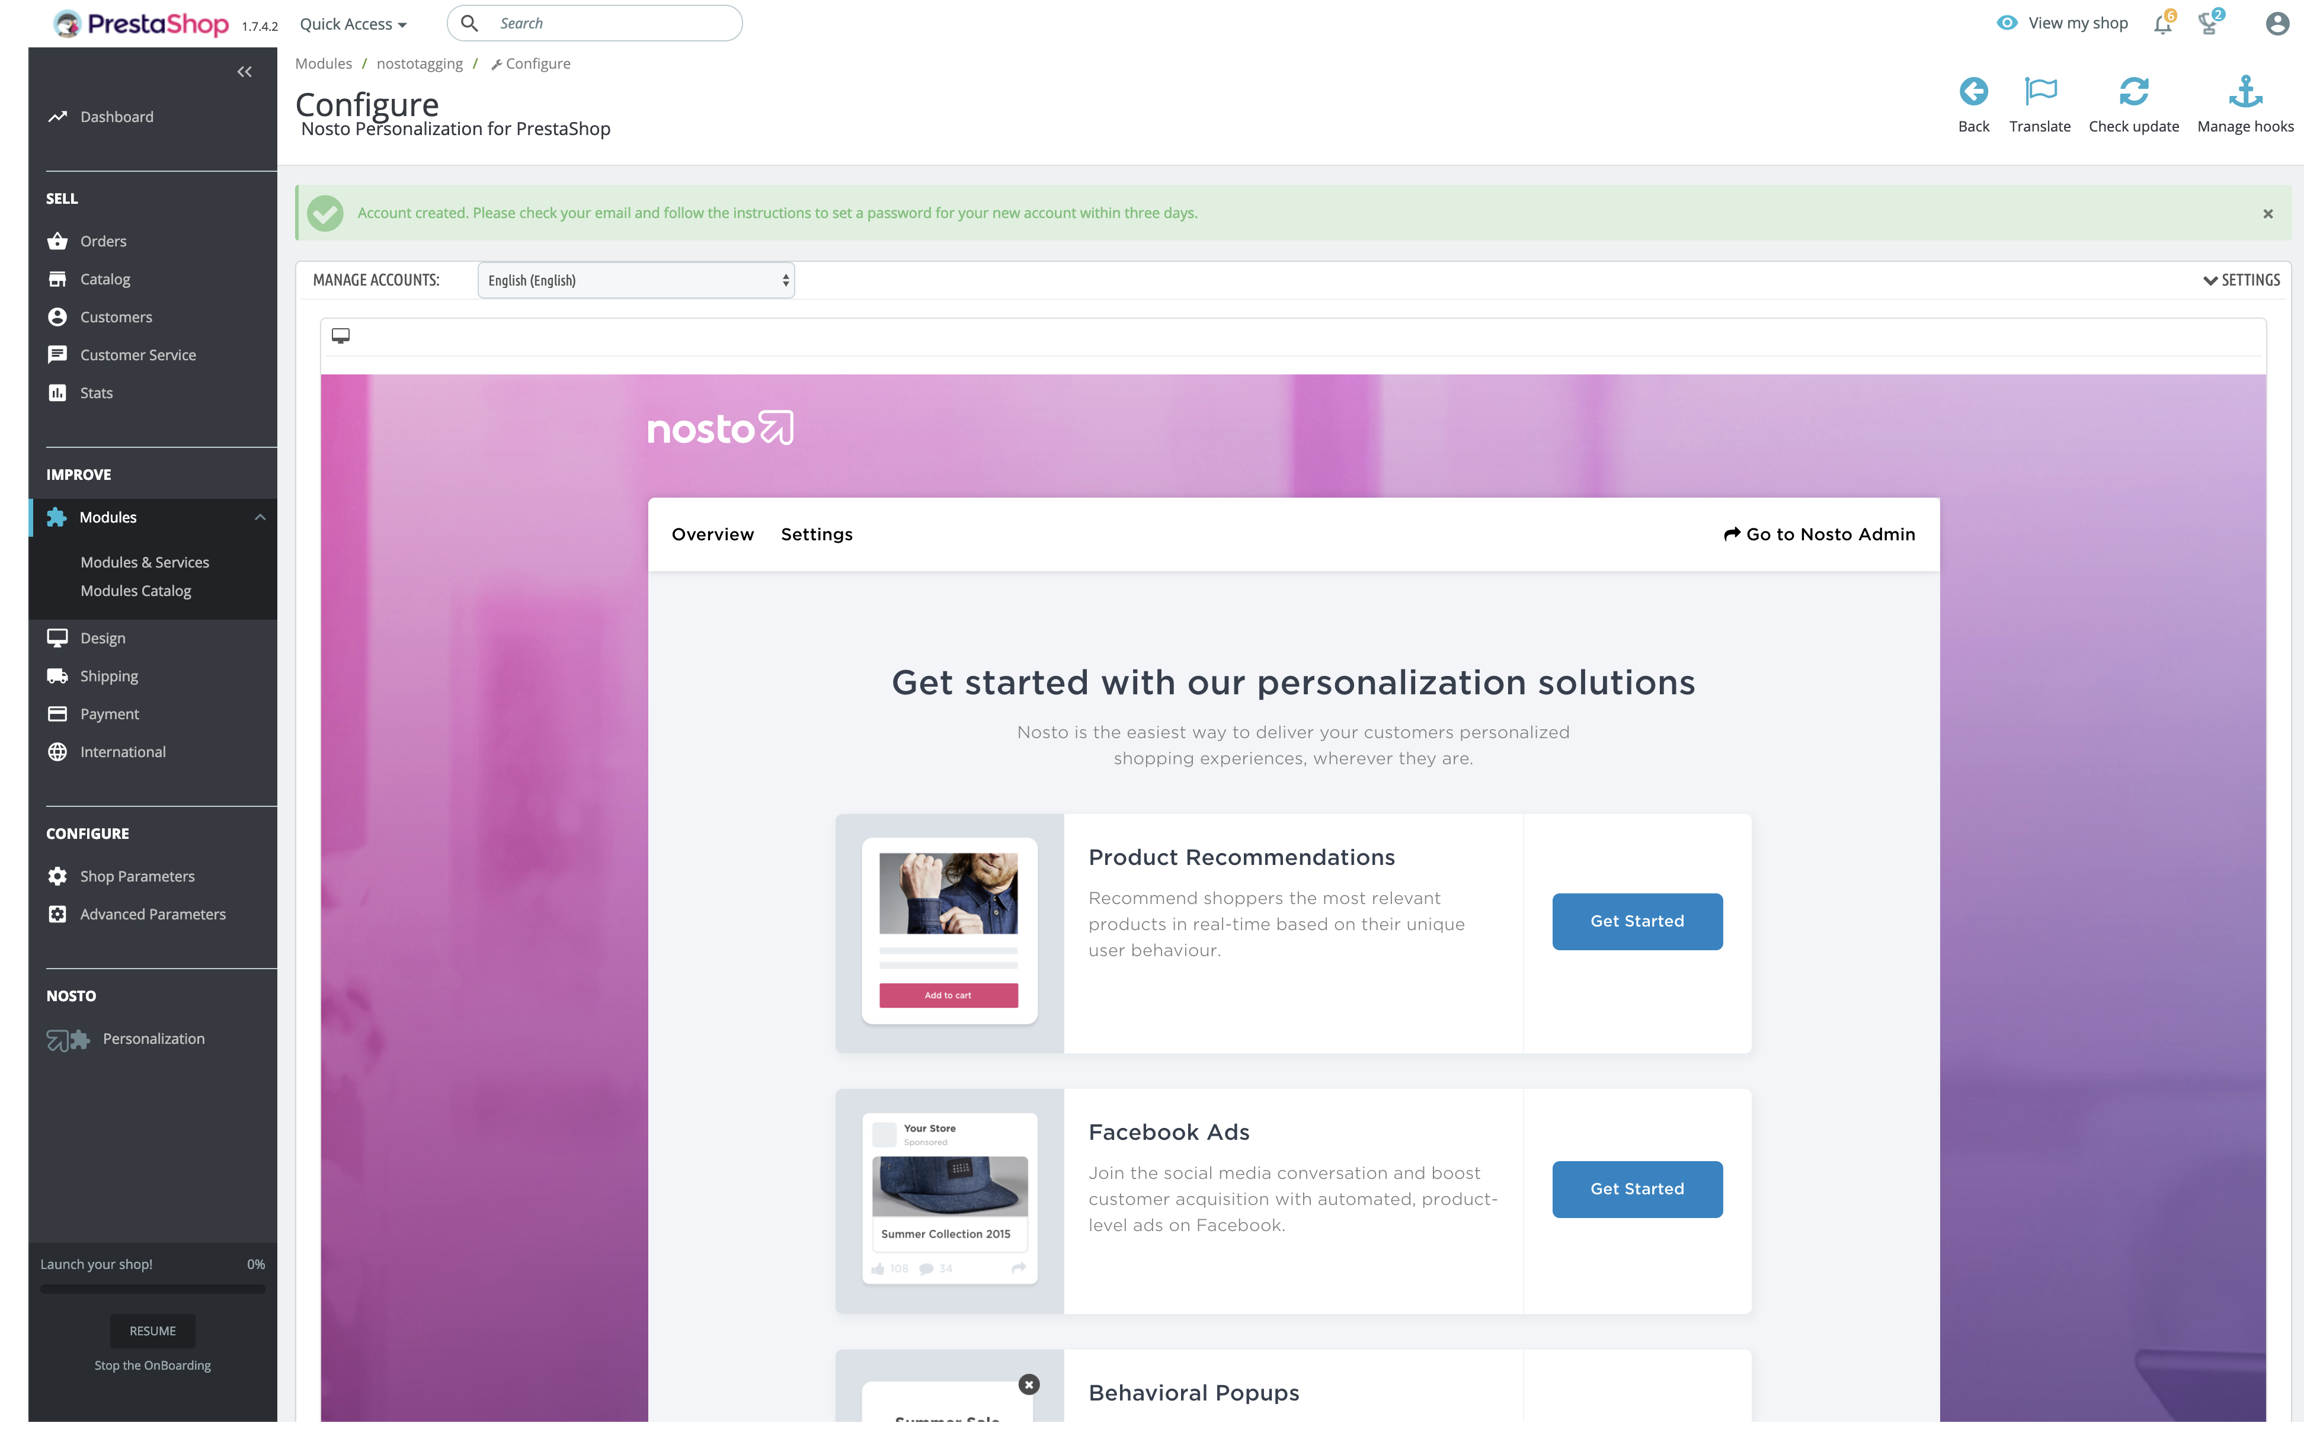
Creating the account is as easy as clicking the install button on the page. Note the email field above it. You will need to enter your own email to be able to activate your account. After clicking install, the window will refresh and show the get started screen. Simply click in go to Nosto admin button to open your account configuration.

You can also connect and existing Nosto account to a shop, by using the link below the install button. This will take you to Nosto where you choose the account to connect, and you will then be redirected back where you will see the same configuration screen as when having created a new account.
You should now be able to view the default recommendations in your shops frontend by clicking the preview button on the page.
Last updated